Goodbye Subfloors, Hello New Flooring!
June 2, 2022
When we purchased our home, we knew right off the bat that the first project on our home renovation to-do list was to replace our flooring. And when I say replace our flooring, I mean in every room in the house!
our home came with 3 types of flooring:
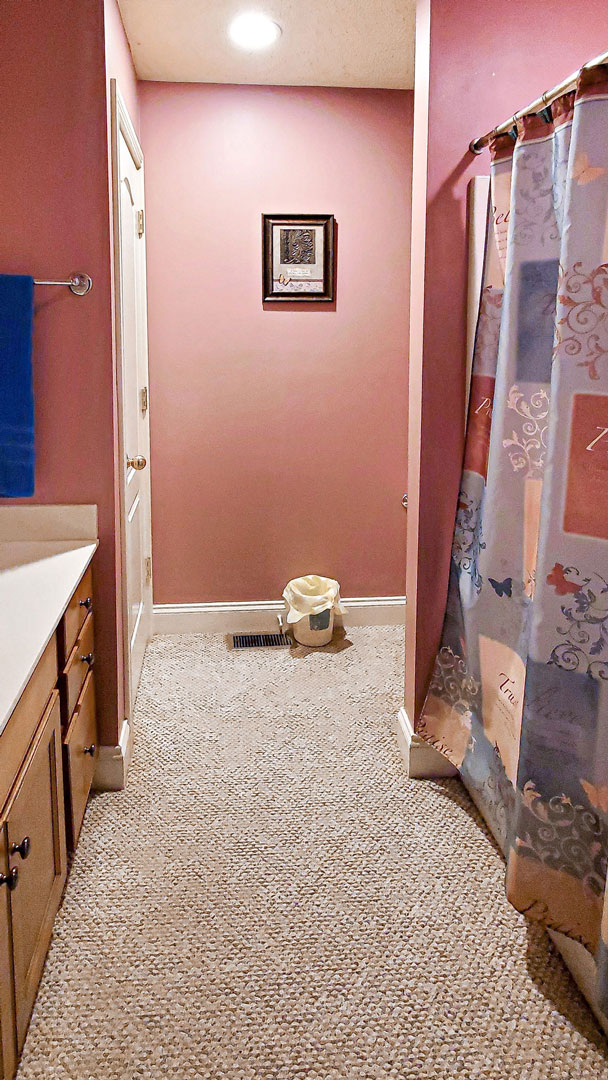
- Carpet = bedrooms, hallway, living room, and bathrooms (yuck!)
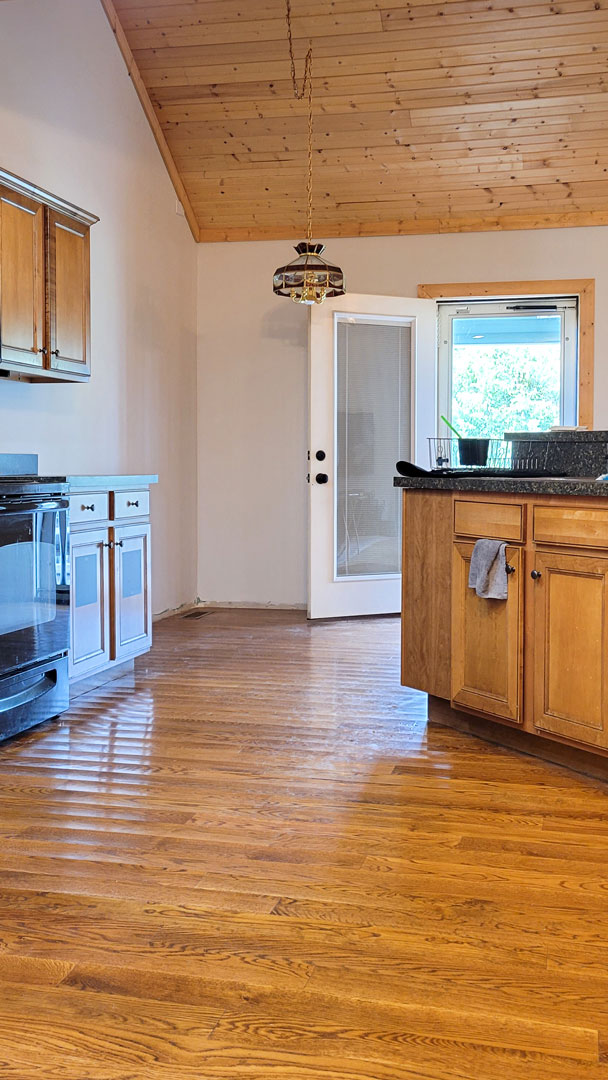
- Hardwood = dining room and kitchen
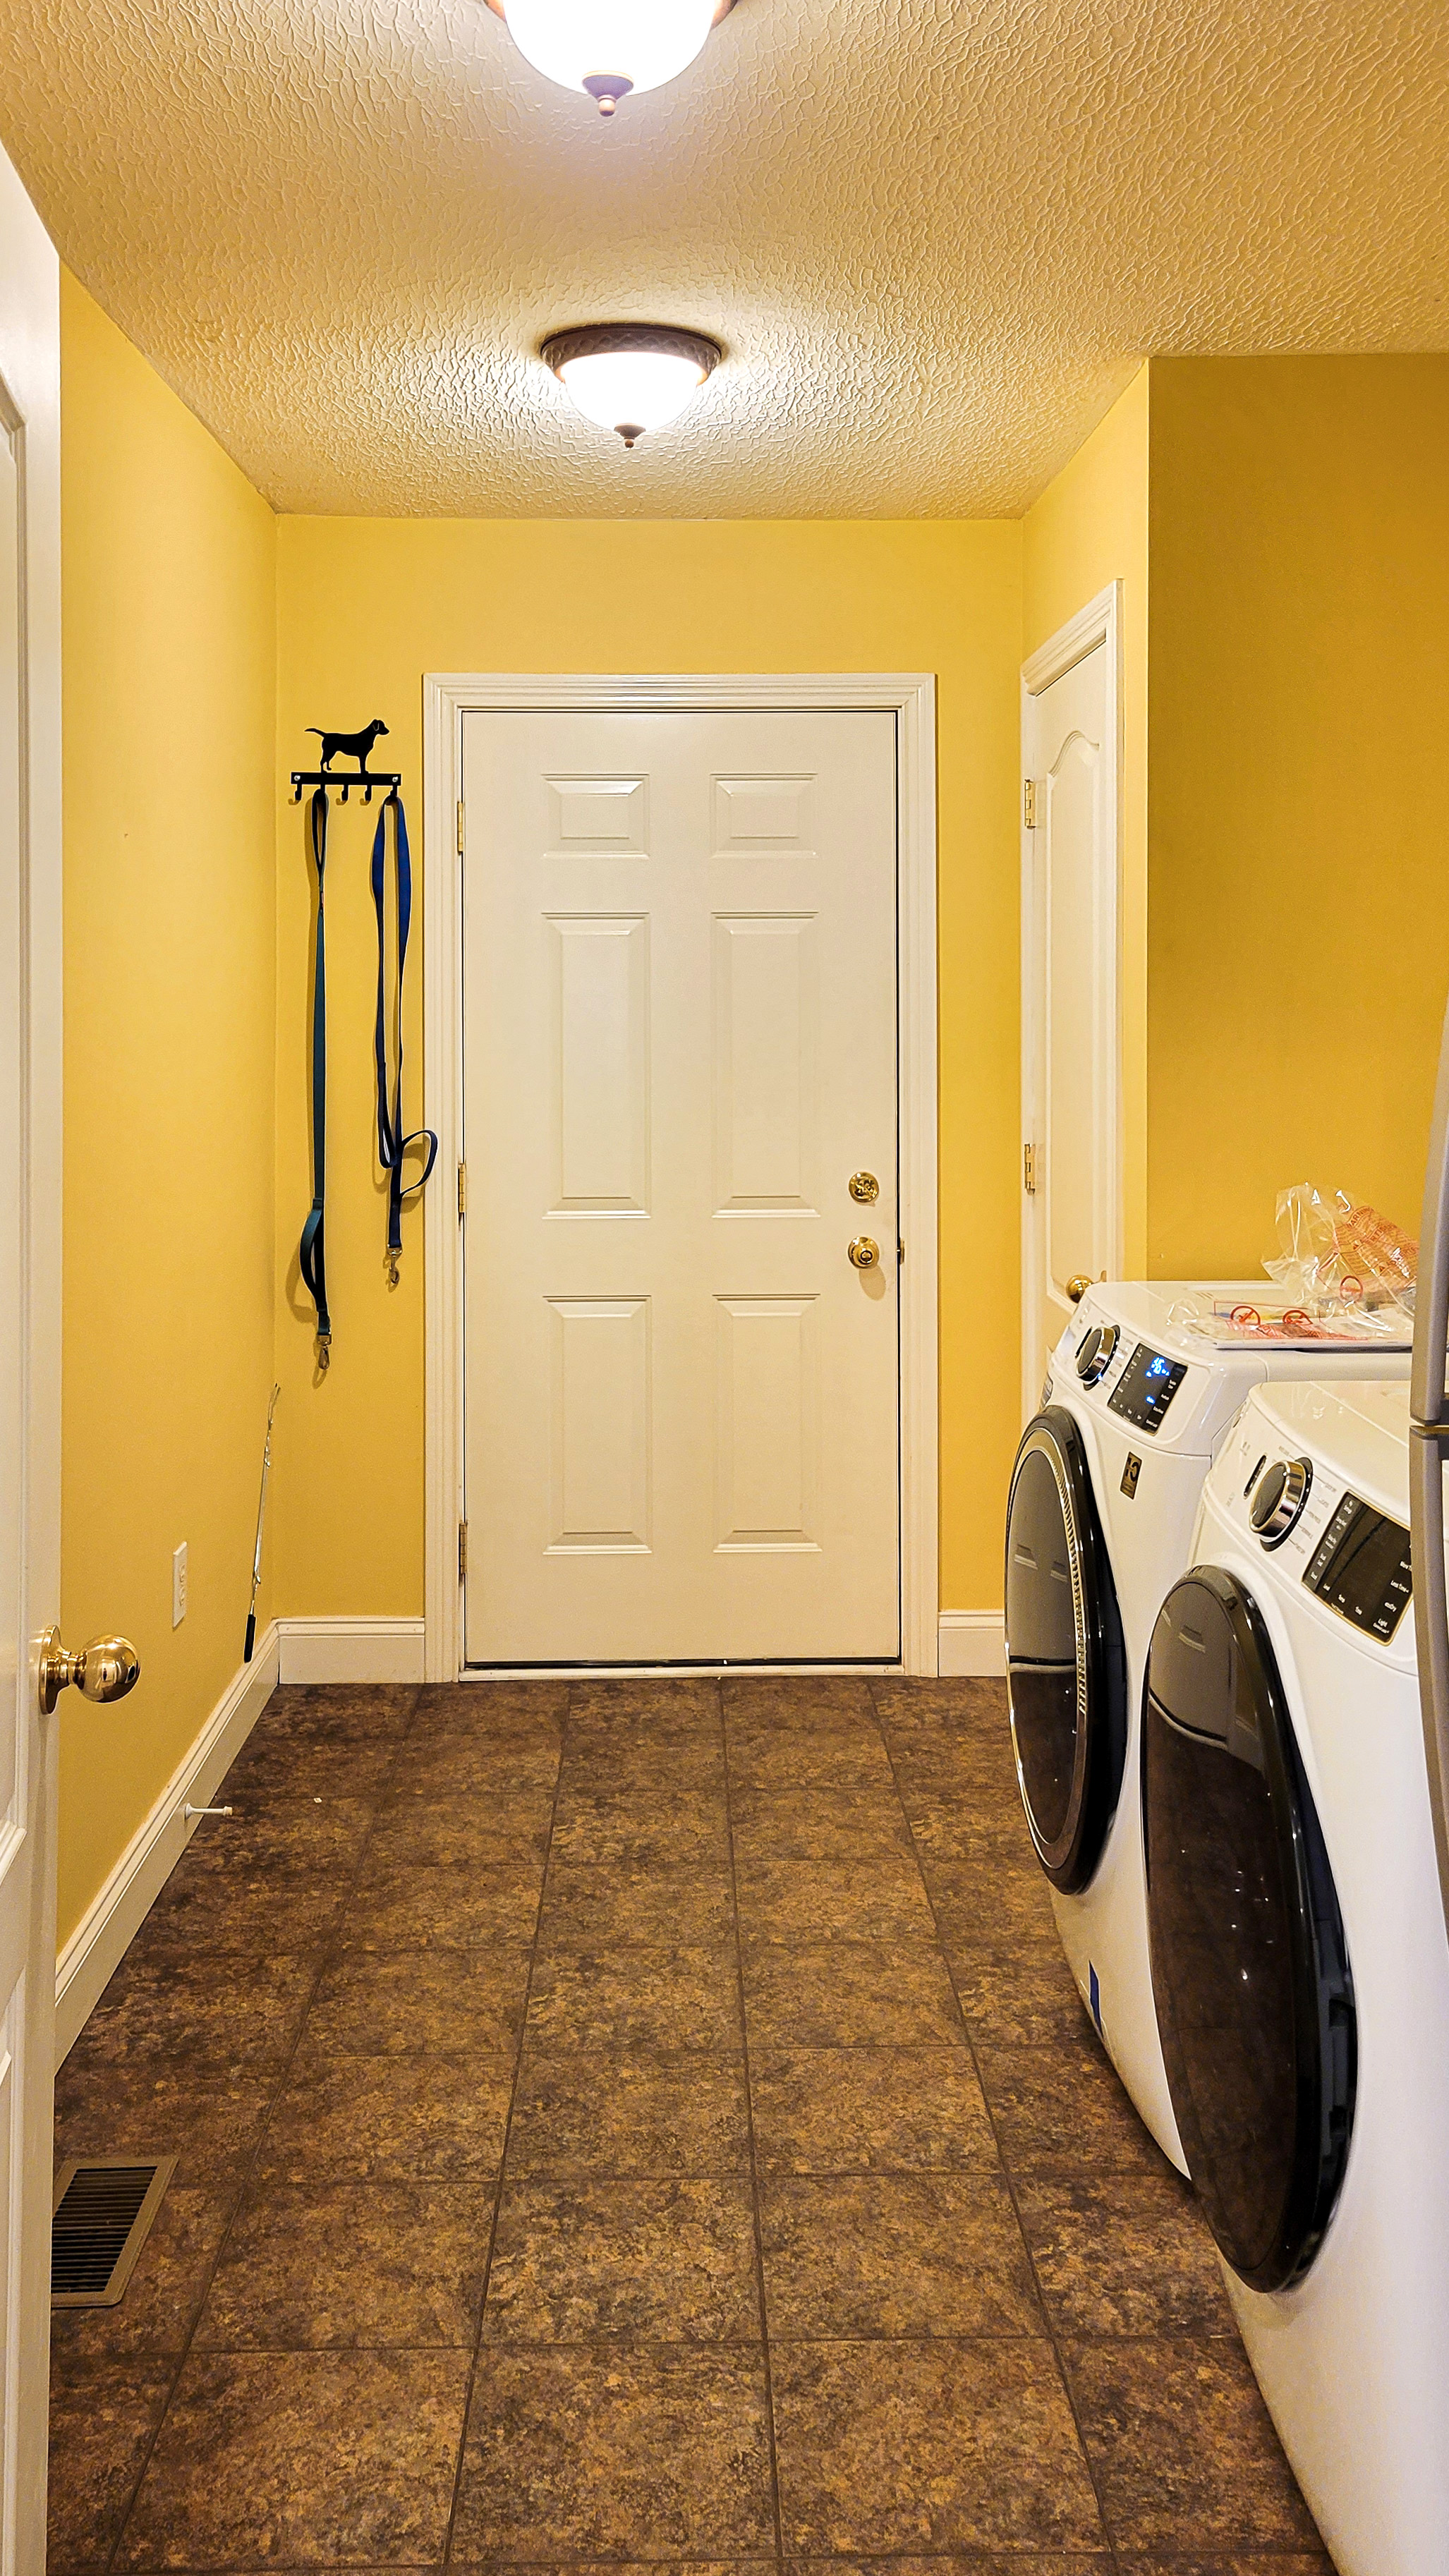
- Linoleum = laundry room
Luckily there weren’t many different flooring types in the house (like some homes I’ve seen). However, and I mean a BIG however: the previous owners were smokers. Heavy smokers. So not only were the carpets saturated in smoke smell, but you could see the discoloration on everything from years of smoke residue. On top of that, the hardwood floors looked like the waves of an ocean during a hurricane. They were so warped that they were a bit of a tripping hazard. Not to mention, hardwood was only installed in the kitchen and dining room – two rooms that aren’t connected, so there was carpet between them. It was just odd.
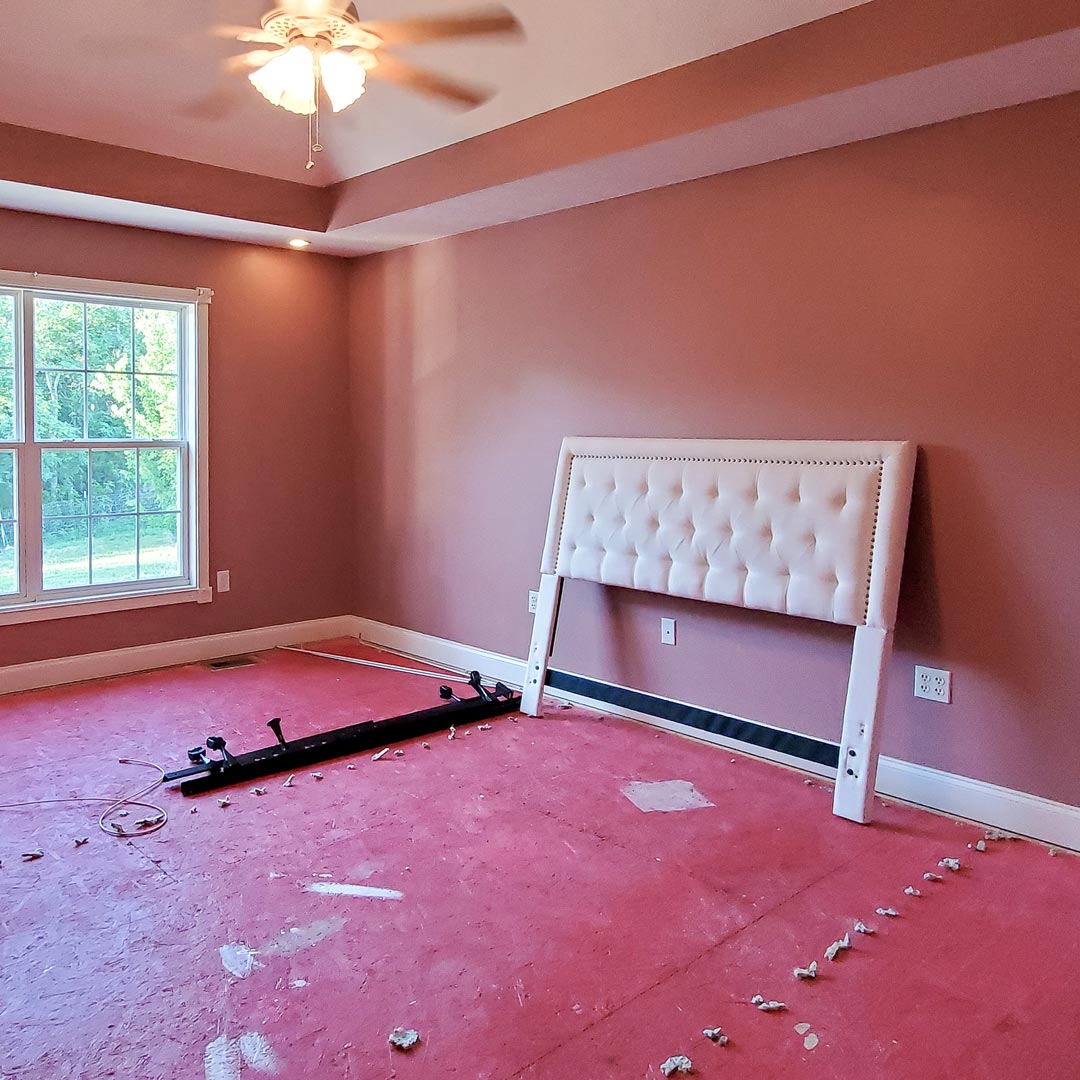
So, we decided to remove every piece of carpet on the day of closing and removed the hardwood shortly after! We’ve kept the linoleum in the laundry room since it’s in good condition, but we do plan to replace it when we renovate that room.
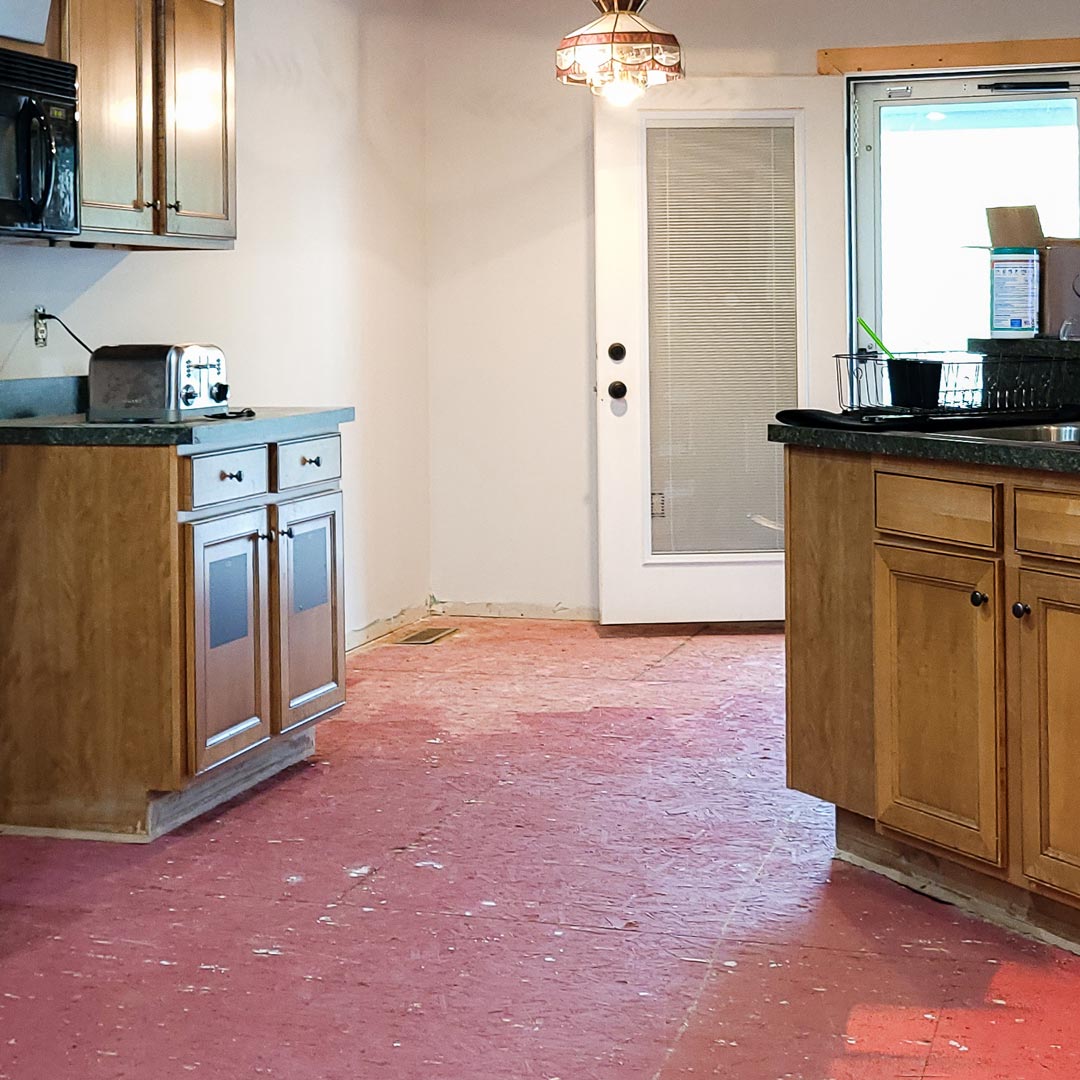
So, We ripped out 98% of our floors and hit a standstill.
Have you tried picking out a flooring product for your whole home before? While living on subfloors? With limited ability to go out and look at flooring? Let me tell you, we went through what felt like hundreds of options. Fell in love with a few that ended up being discontinued. Went back to the drawing board more than once. We lived on subfloors for months.
Seriously, subfloor for months:
- Bedrooms = 1 month
- Office, Entry, dining room, hallway = 2.5 months
- Living room & kitchen = 3.5 months
- Guest Bathroom = 5.5 months
- Primary Bathroom -ish= 13 months (bless our hearts, I know!)
HELLO, BEAUTIFUL NEW FLOORING!
At first, we couldn’t decide what type of flooring we wanted. We have 3 large dogs, two boys, a pool, and live on three acres with a lot of nasty weather so our floors needed to be durable to withstand all of that.
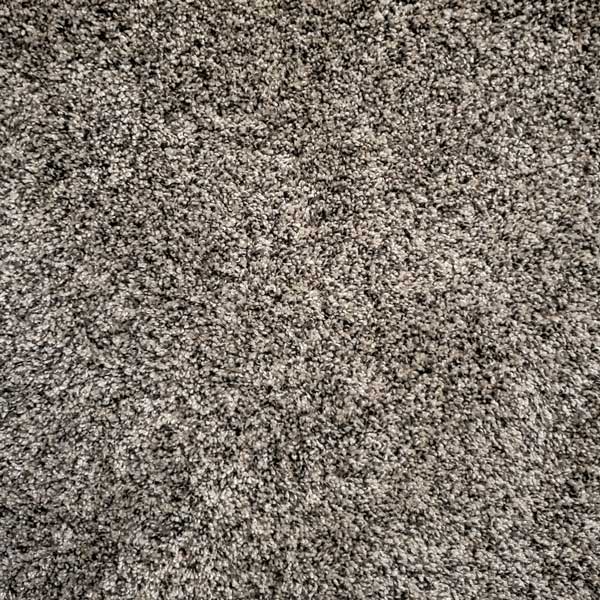
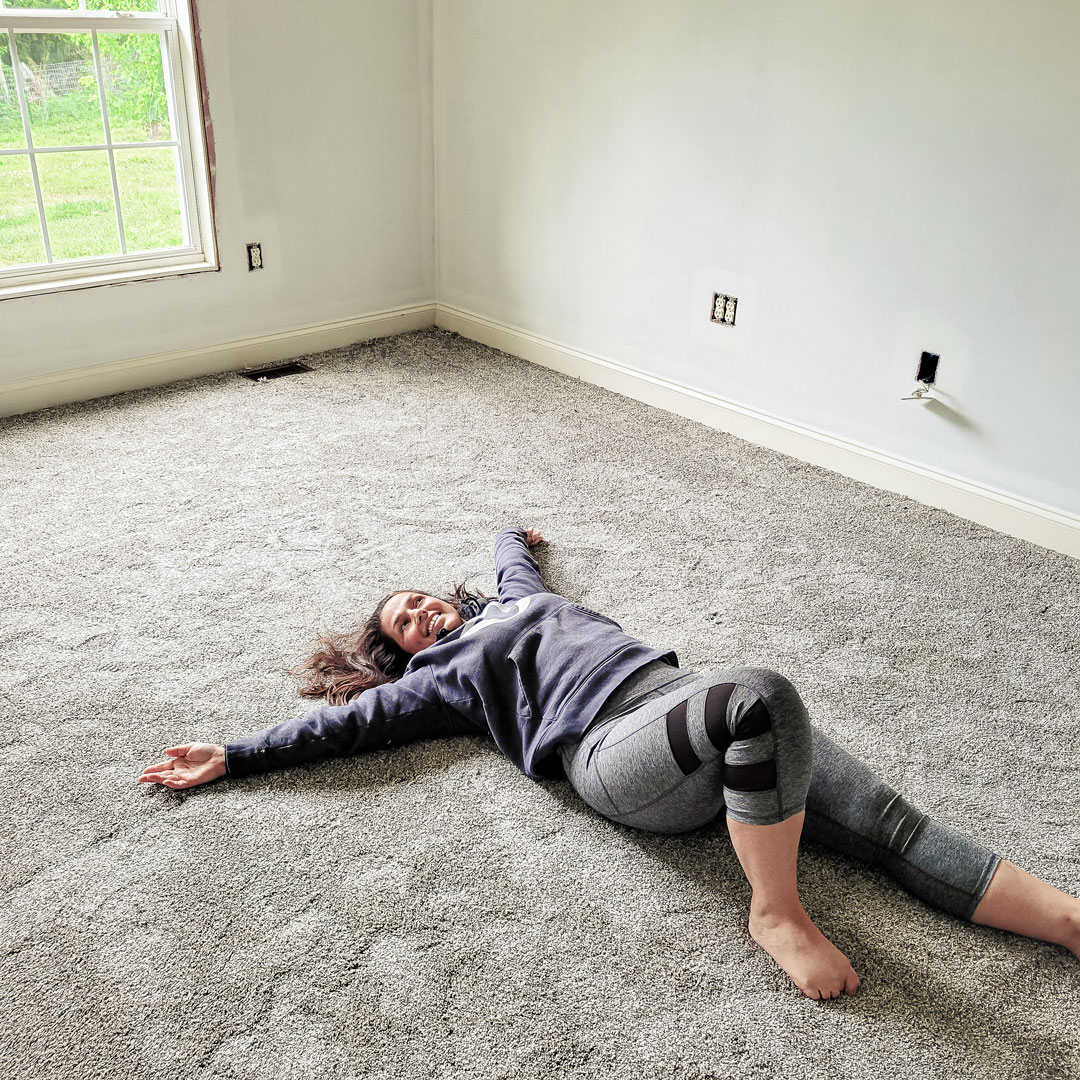
We ultimately decided on carpet for the bedrooms, luxury vinyl planks (LVP) for the main floors, and luxury vinyl tiles (LVT) for the bathrooms!
I am a huge fan of soft carpets in the bedrooms. So much so that I refuse to have anything else (unpopular opinion, I know!). We don’t spend much time in the bedrooms unless we’re sleeping, so luckily, they don’t get a lot of wear and tear.
Tips: Opt for a better quality carpet pad and a lower end carpet if you want to save money – this will get you a nice plush feeling but won’t hurt your budget when you have to replace them more frequently.
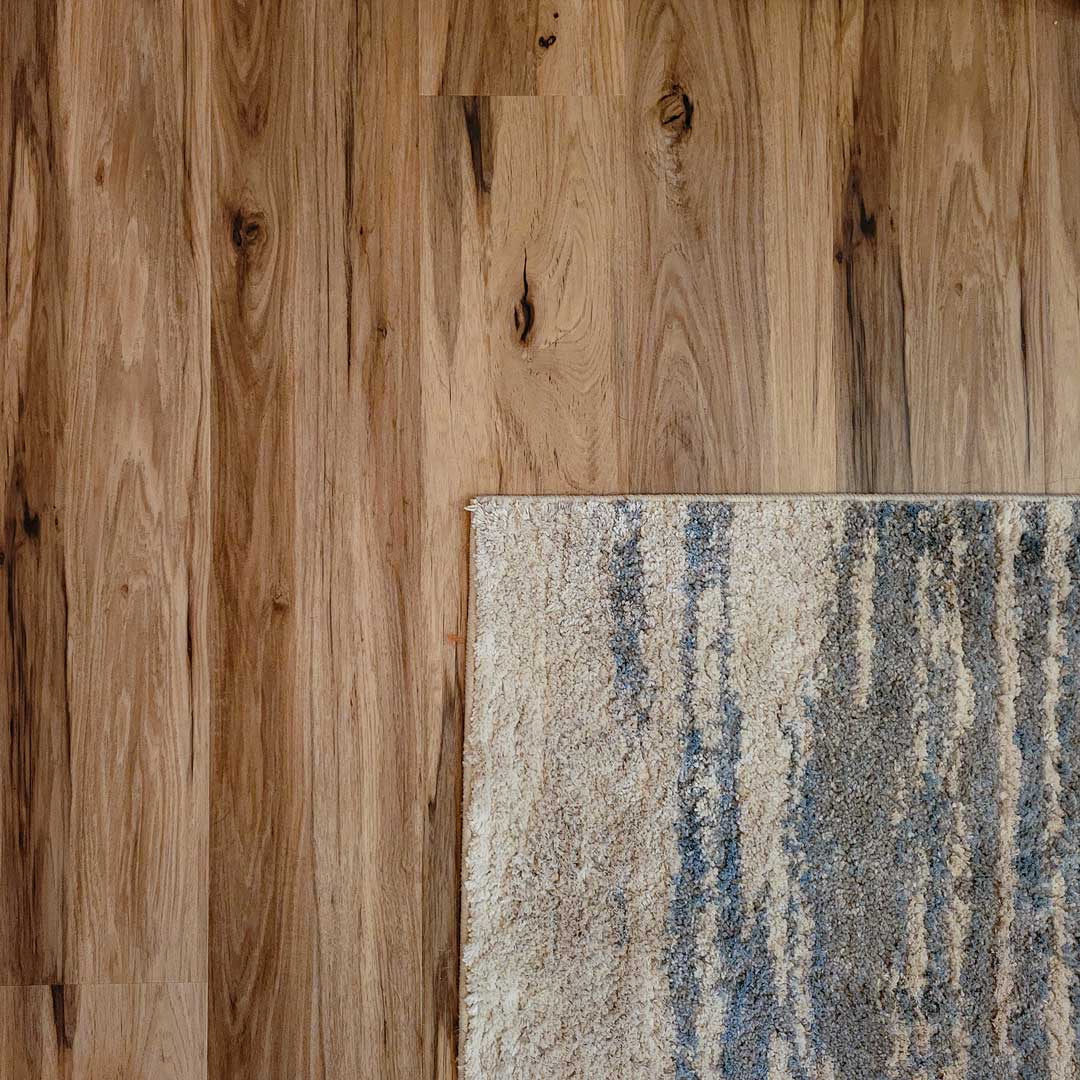
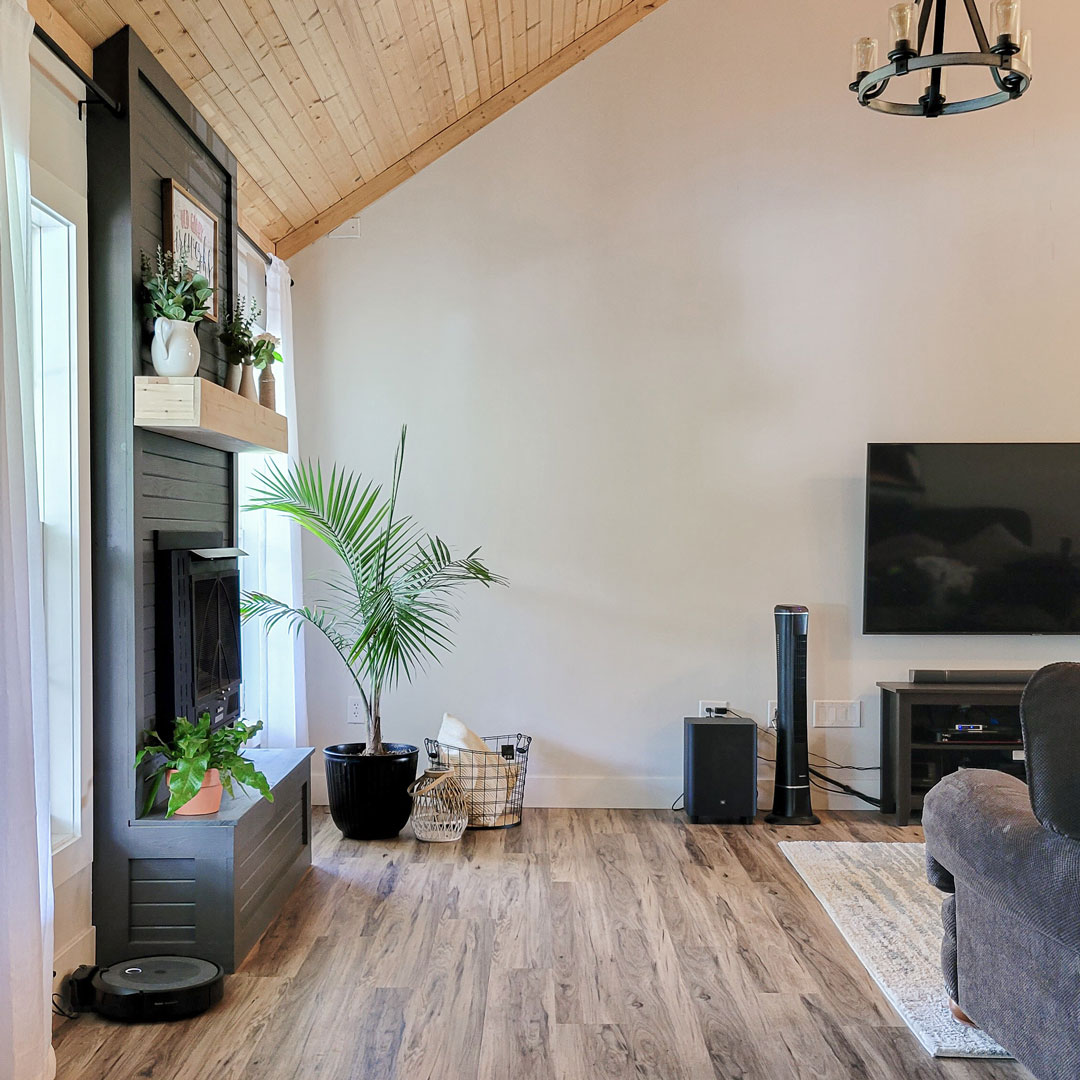
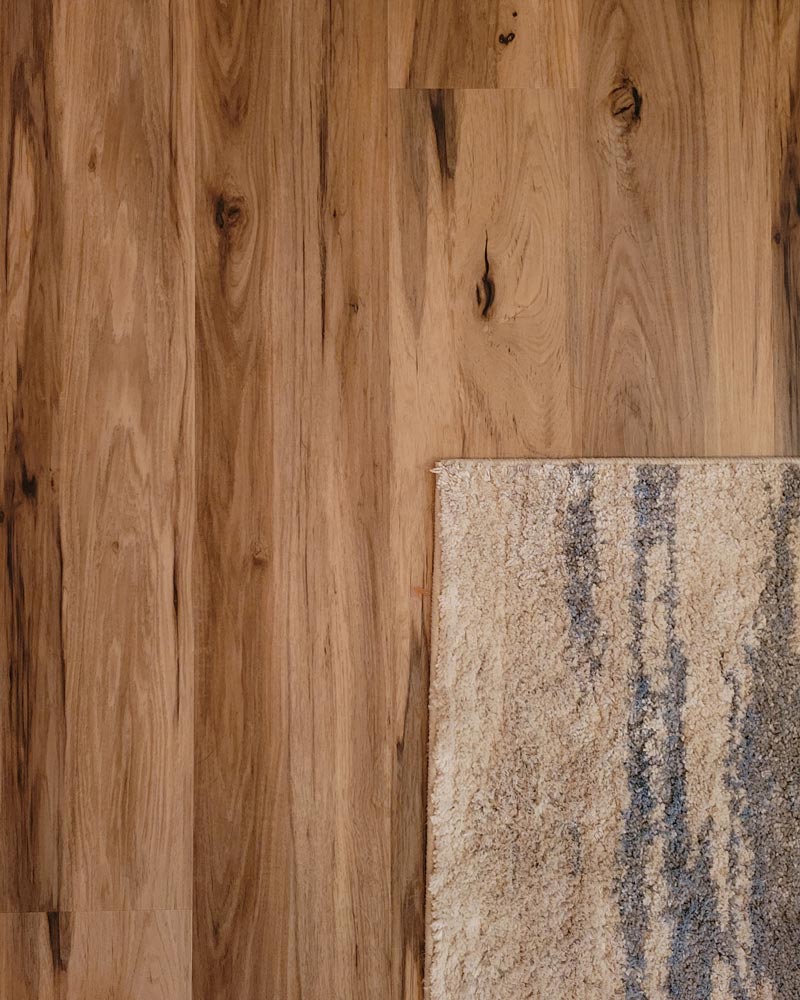
We went with this wood-look LVP for the living room, dining room, kitchen, office, and hallways. It’s waterproof and less expensive than hardwood. We even installed these ourselves – it was surprisingly easy after you get the hang of it. Since we installed 1,100 SF of LVP, we split the house into two sections because that’s a lot of flooring to install in one swoop! (I would definitely recommend a helper if you have a lot to install, but you could easily do it as a one-person job!)
Tips:
- Look for a LVP with a higher wear layer. Ours is a commercial/residential line with a 20mil wear layer. Higher wear layer = more durability over time.
- Always perform a scratch test on a sample. We use a key and try to legitimately scratch the floor samples. The worst thing to us is spending a lot of money on a product that scratches horribly the first time you move your dining room table.
- Look for a floor that has texture built into the design. Our floor has grooves, scratches, and saw cuts as part of the design to mimic the look of wood. This really helps give the floor dimension and appear as real wood; it also helps hide scratches if and when they do happen.
- Select a product with a higher number of plank variations. Our has 10 variations and it’s almost impossible to spot two identical boards in our house. The lower the variations, the easier it is to spot repeating patterns.
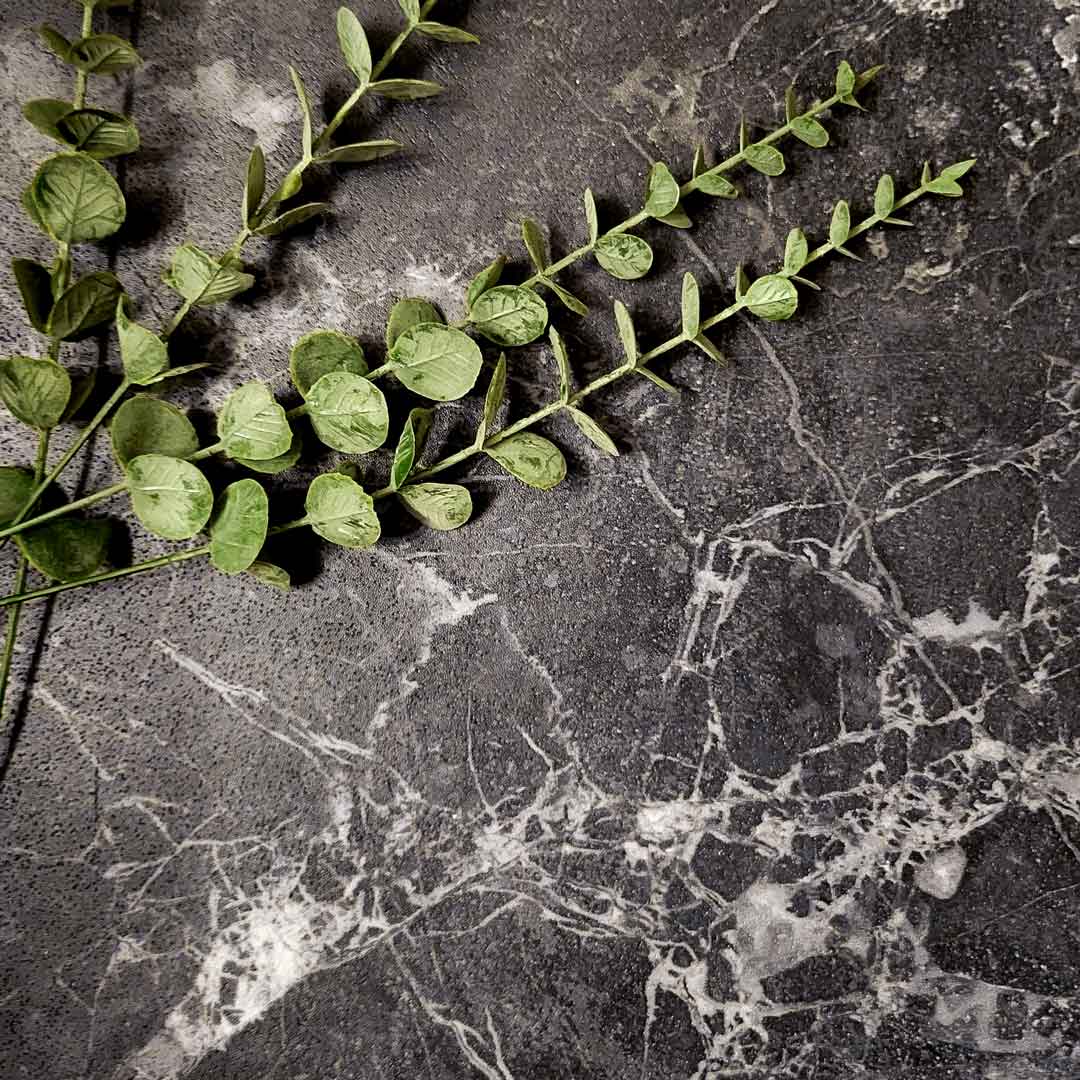
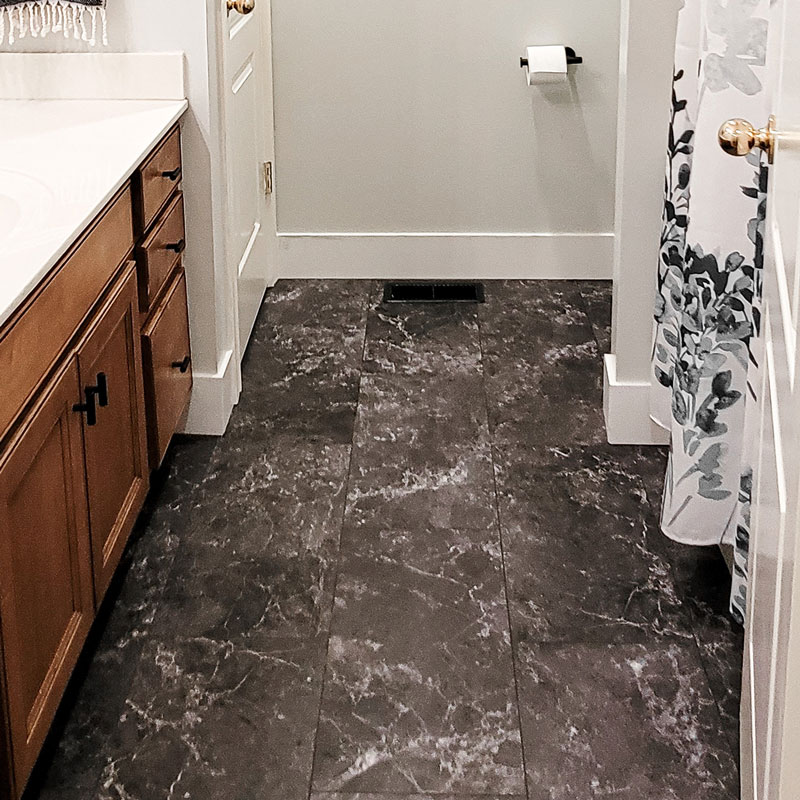
We tossed around tile for the bathrooms over and over. We both love tile; there are so many options to choose from. However, once we realized how easy a DIY install LVP is (and it’s also 100% waterproof) – it was a no-brainer to find an LVT product we loved.
We actually bought these LVT floors sight-unseen, on a whim based off online reviews. They ended up being absolutely gorgeous in person. I’ll be honest, we didn’t do a scratch test on them (probably because we love the look so much and we were tired of looking at floors that we just installed them anyways). However, they’ve been installed for over 8 months now, and we haven’t had any issues with scratching or durability at all. I definitely recommend them.
We love our new floors.
I can’t even begin to stress how much I took a simple thing like flooring for granted! Having finished floors is such a blessing when you have been living on wood subfloors for months. I’m absolutely in love with the floors we selected for the house, even if it’s taken us months to get them installed.
SOURCES:
filed under: bathrooms, bedrooms, design, flooring, living room
SHARE THIS STORY:

Make sure to Subscribe to our newsletter &
follow our progress on Instagram!

