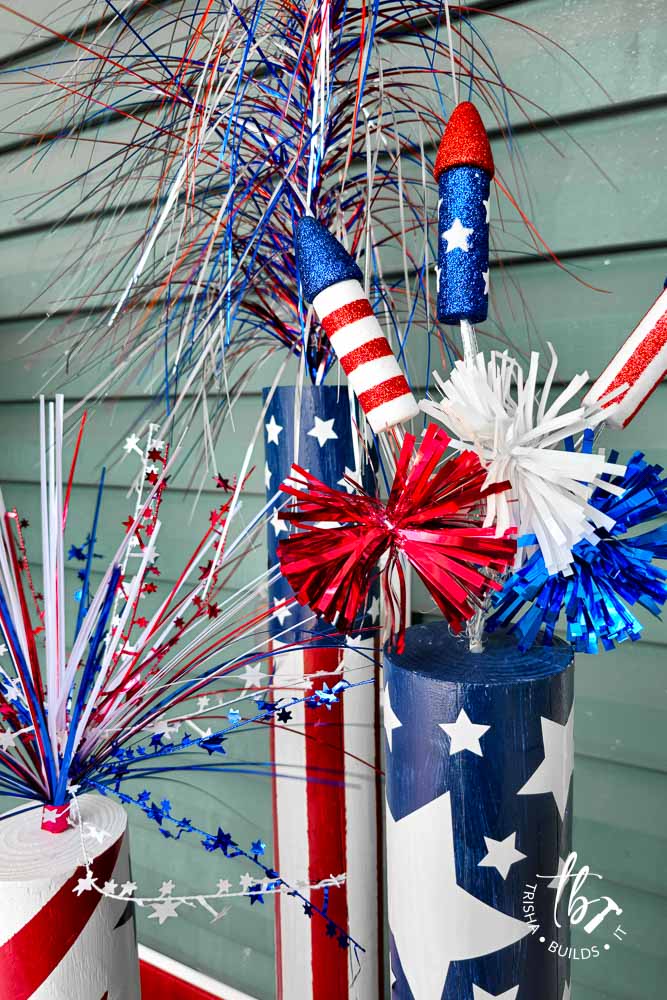
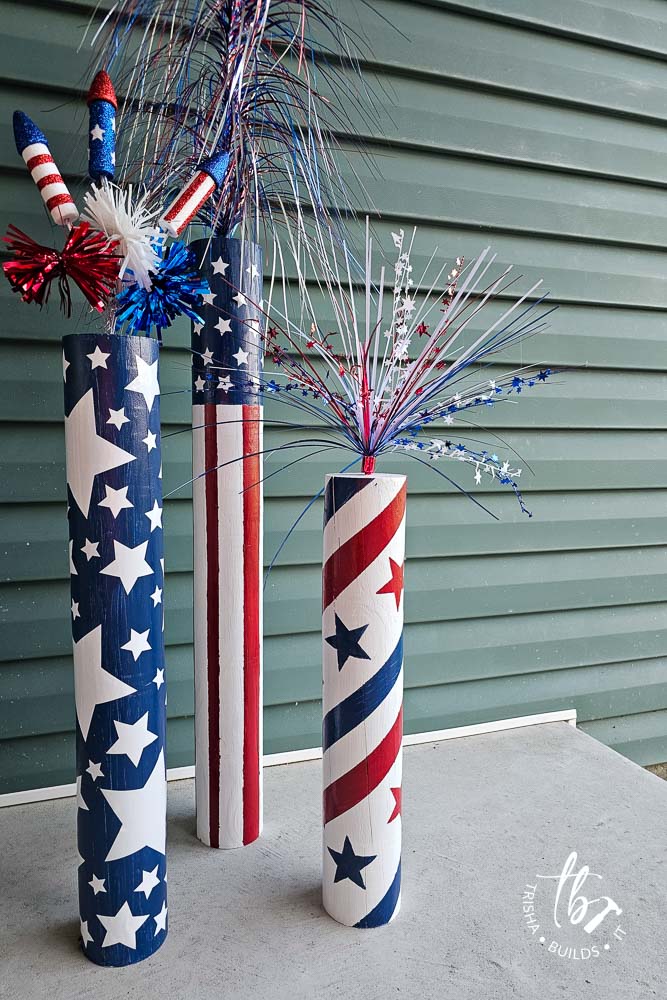
Patriotic DIY Wood Fireworks
June 25, 2024
Difficulty Level: Beginner Projects
Completion Time: Approx. 1 hour
This page may contain affiliate links where I earn a small commission from qualifying purchases. There is no cost to you for using these links and I only recommend products I personally own or would purchase myself. See our affiliate policies for more info!
I really wanted to spruce up my front porch for the 4th of July this year but none of the local stores had the decor vibe I was looking for within the price range I was willing to spend (the woes of living rural), so I decided to make my own!
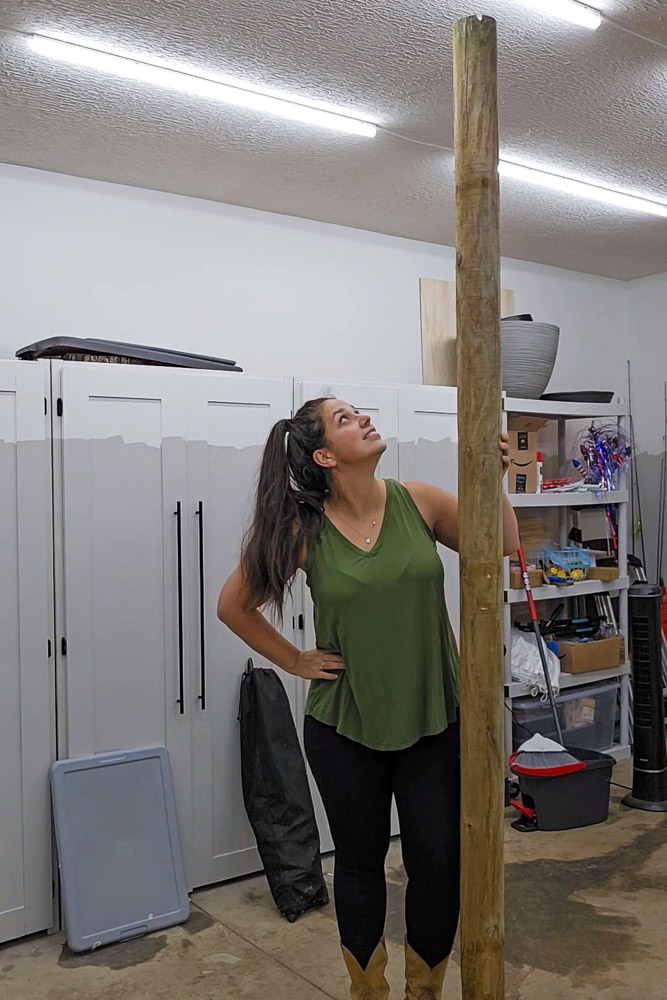
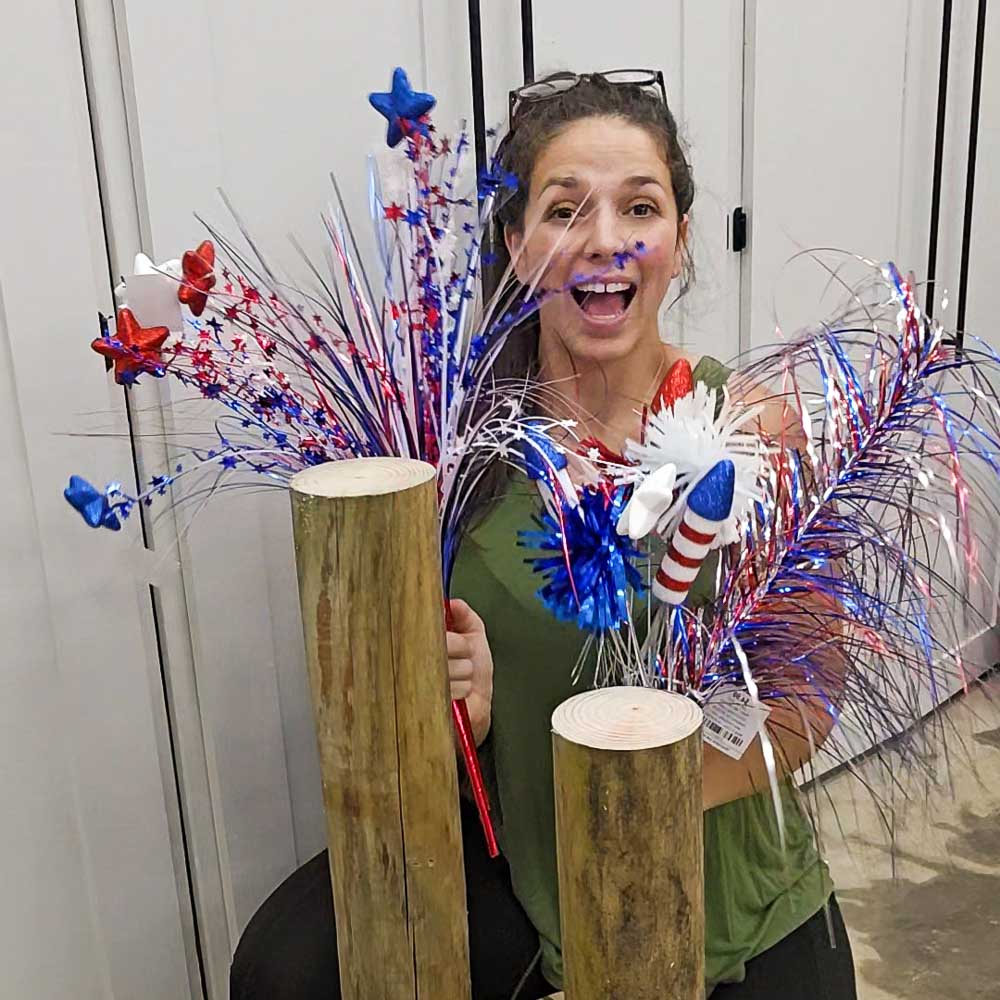
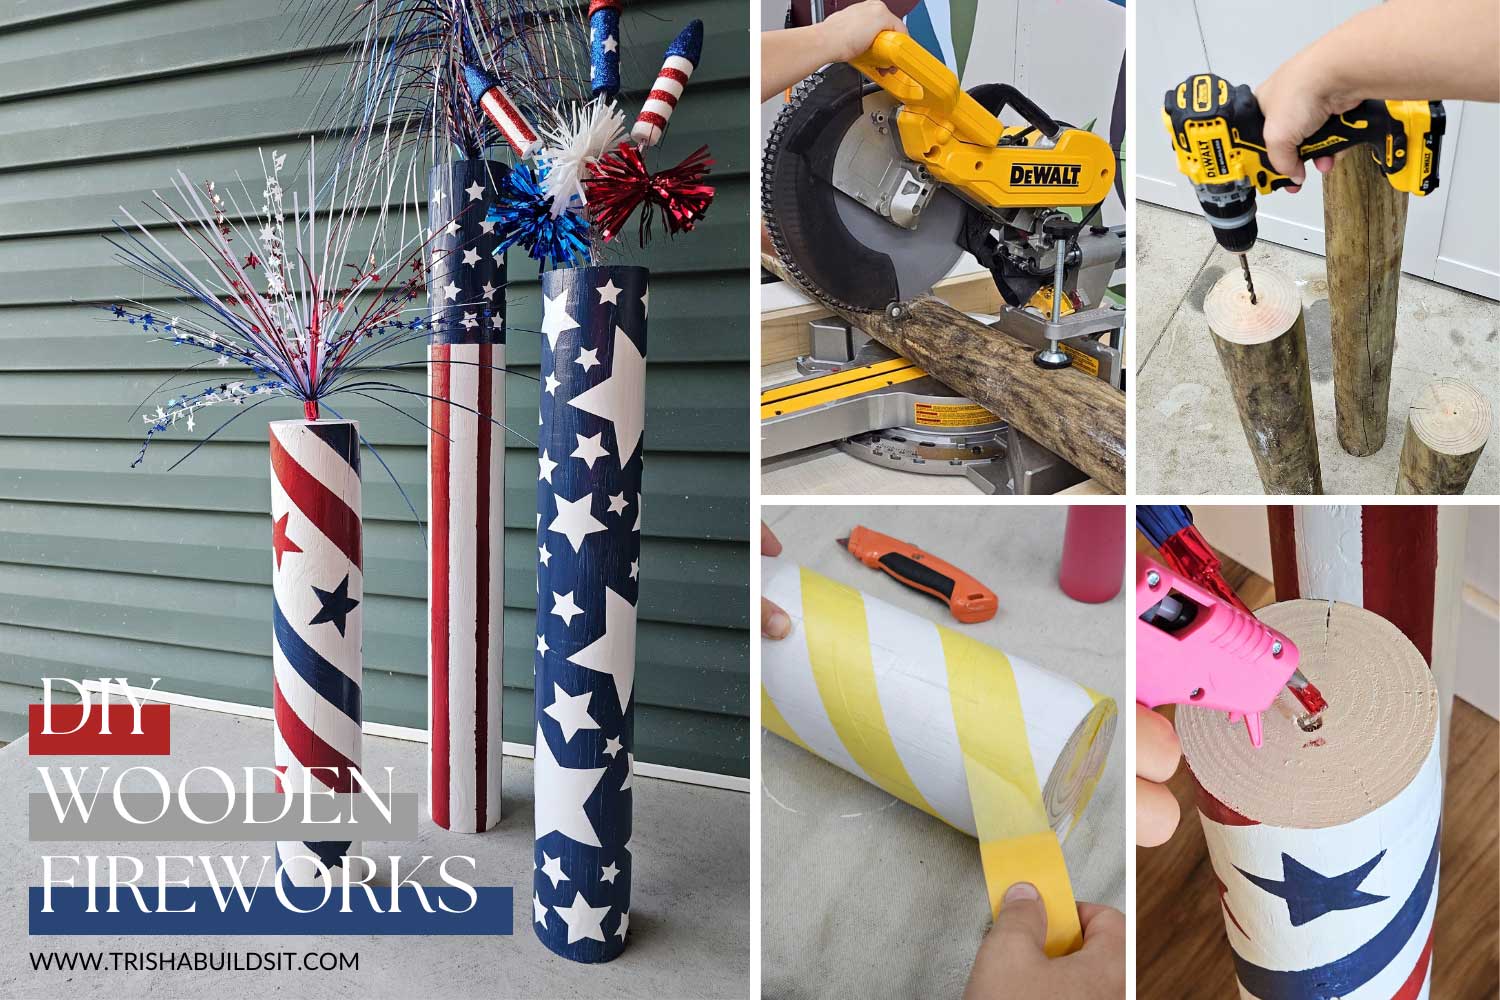
These 3 wooden firecrackers are built from just one 8-foot wood fence post, paint, and some decorative tinsel stems. It took about an hour from start to finish – watching paint dry honestly was the longest part of the whole process!
Step 1: Cut the Fence Post
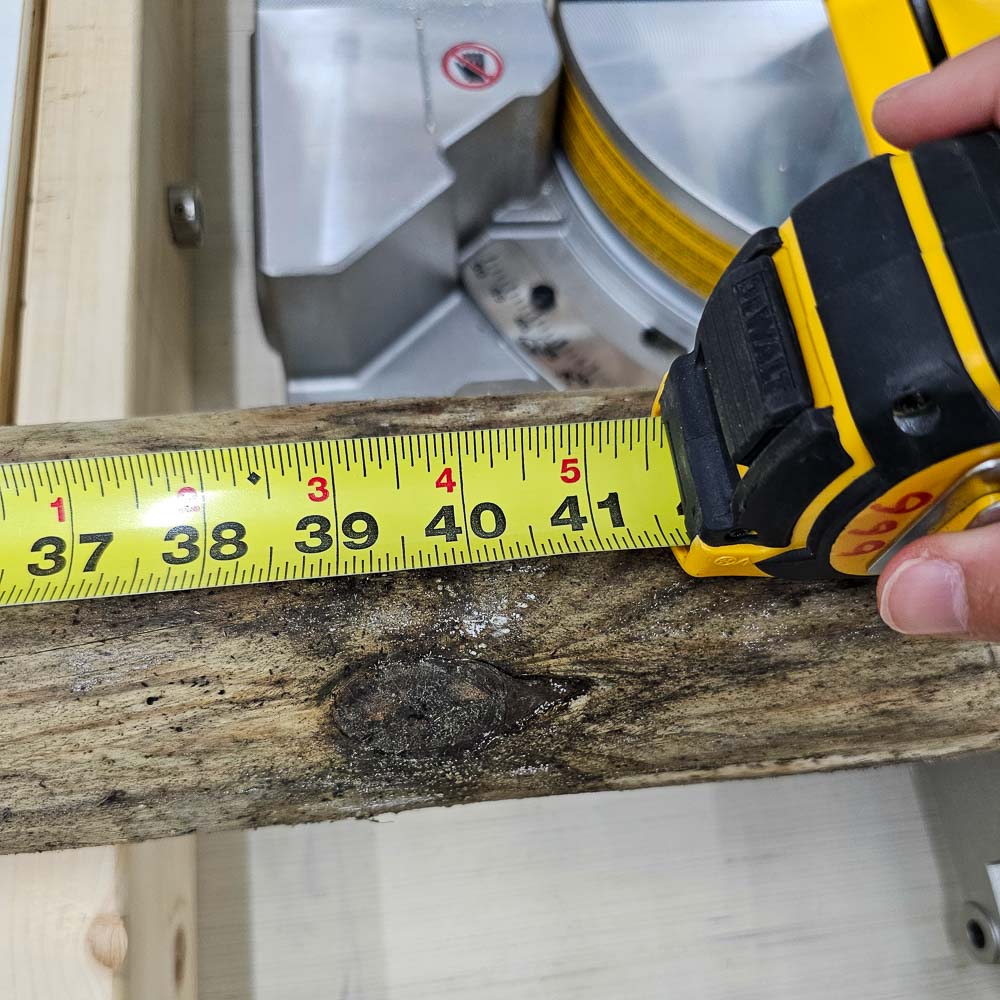
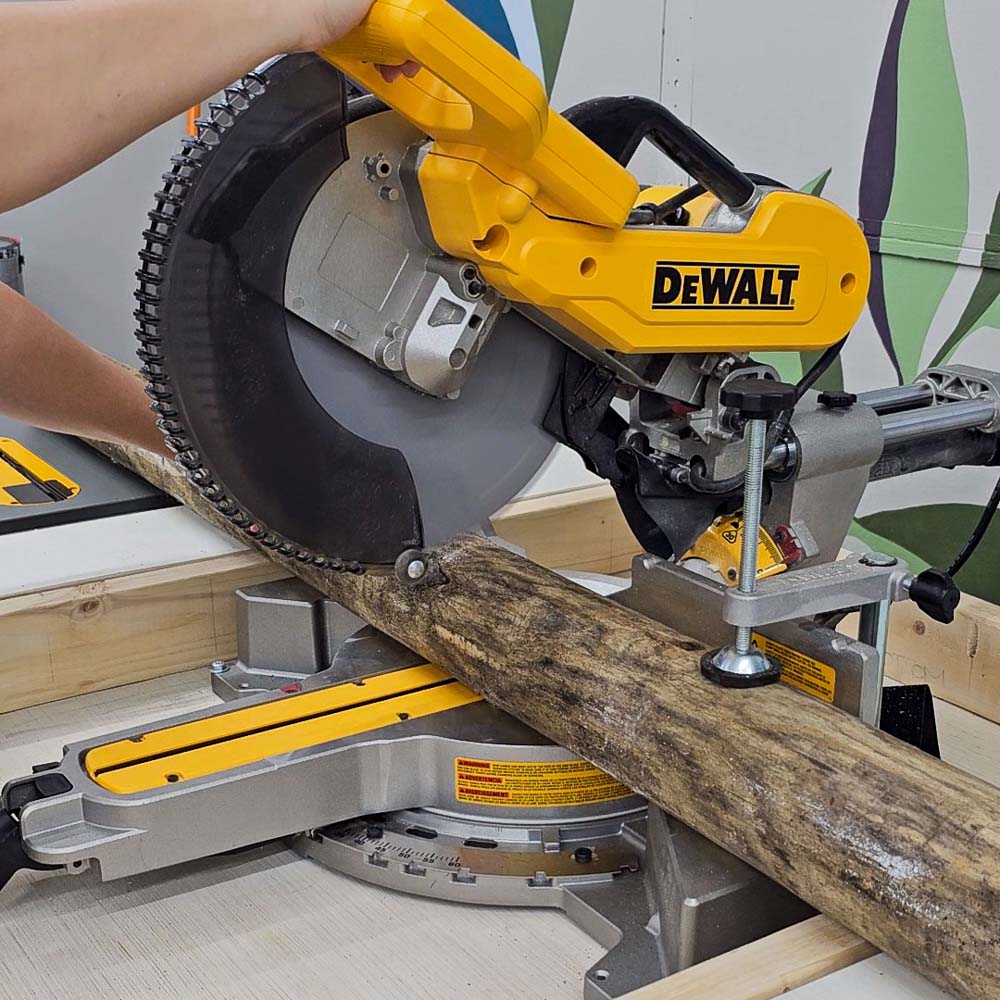
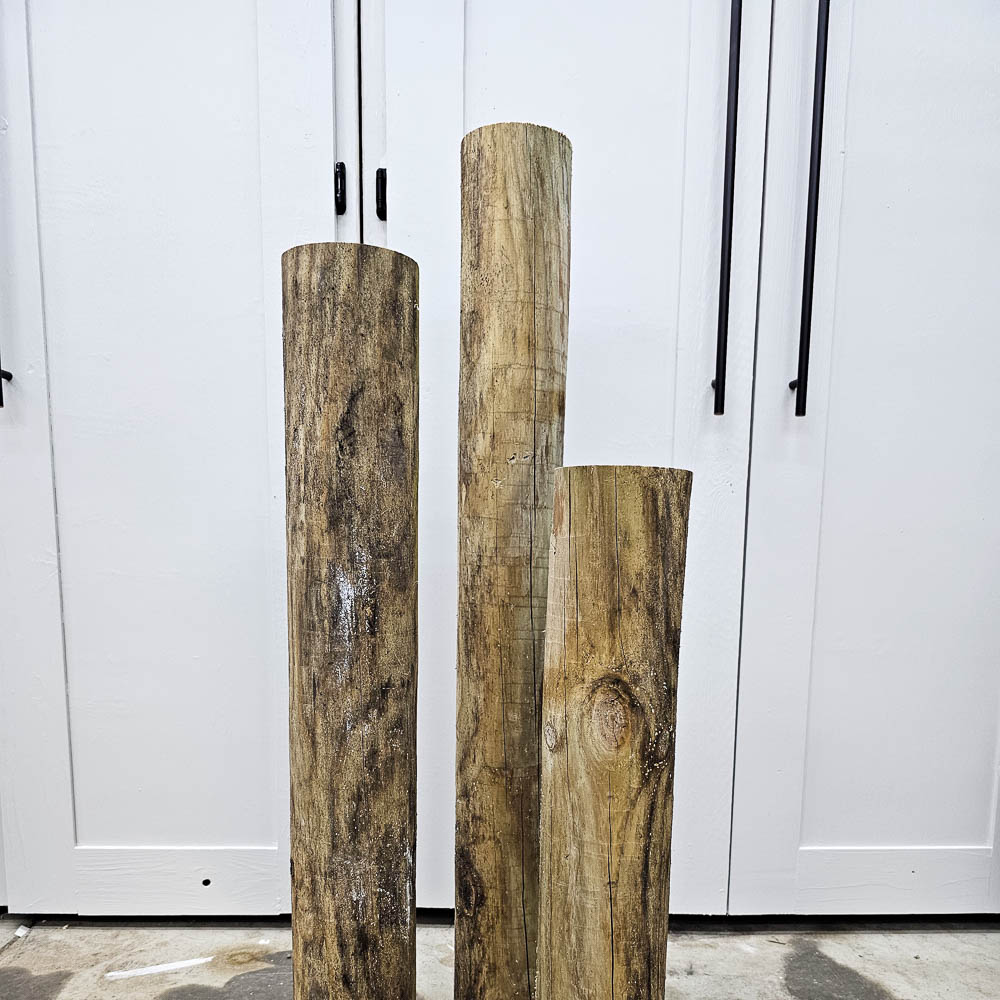
First things first, take your 8-foot fence post and cut it to three different lengths: I chose 30 inches, 24 inches, and 18 inches. A mix of heights will give your wooden fireworks a dynamic and visually interesting look.
Note: Make sure to clamp your post in place while you cut so it does not slide around on you.
If you’d like longer or shorter posts, go for it – these are your decorations after all! If you’re increasing the length of the posts, make sure you pay attention to your overall post length, so you have enough material for all of your cuts.
Step 2: Drill Holes
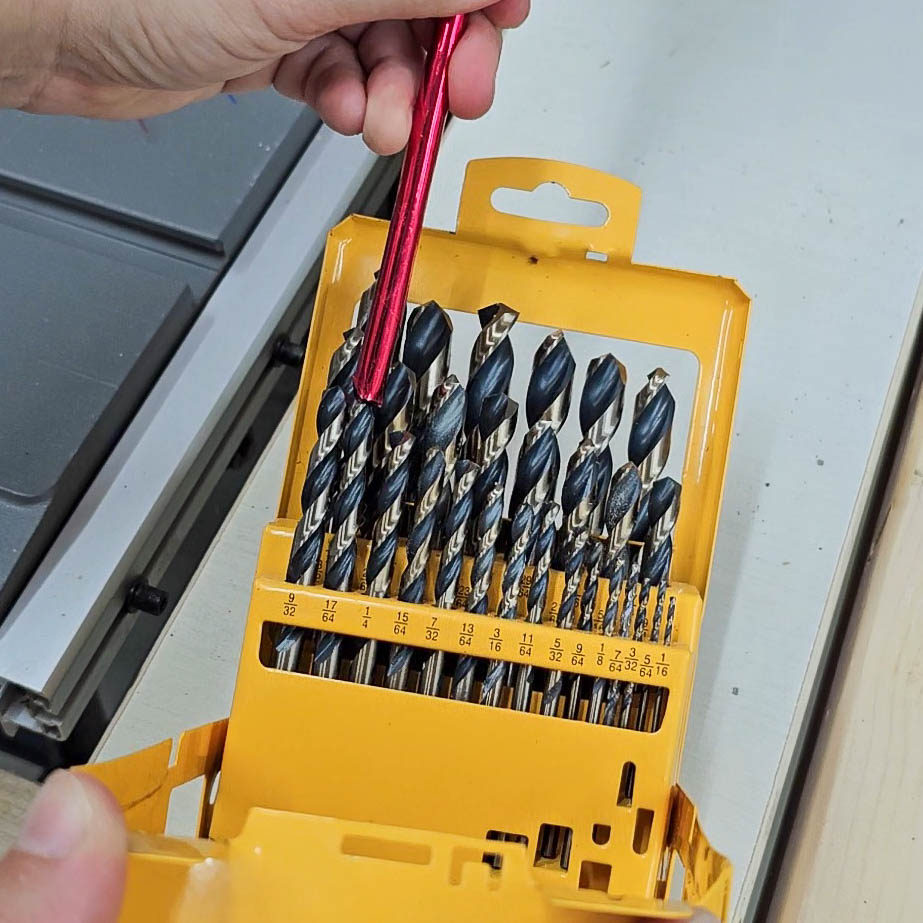
You’ll need two (or more) different sized drill bits for this part: one small bit for a pilot hole (to make your life easier when drilling) and another bit a little larger than your firework stems. (My stems were slightly different sizes, so I just used the largest bit and added additional hot glue to hold the smaller ones in place.)
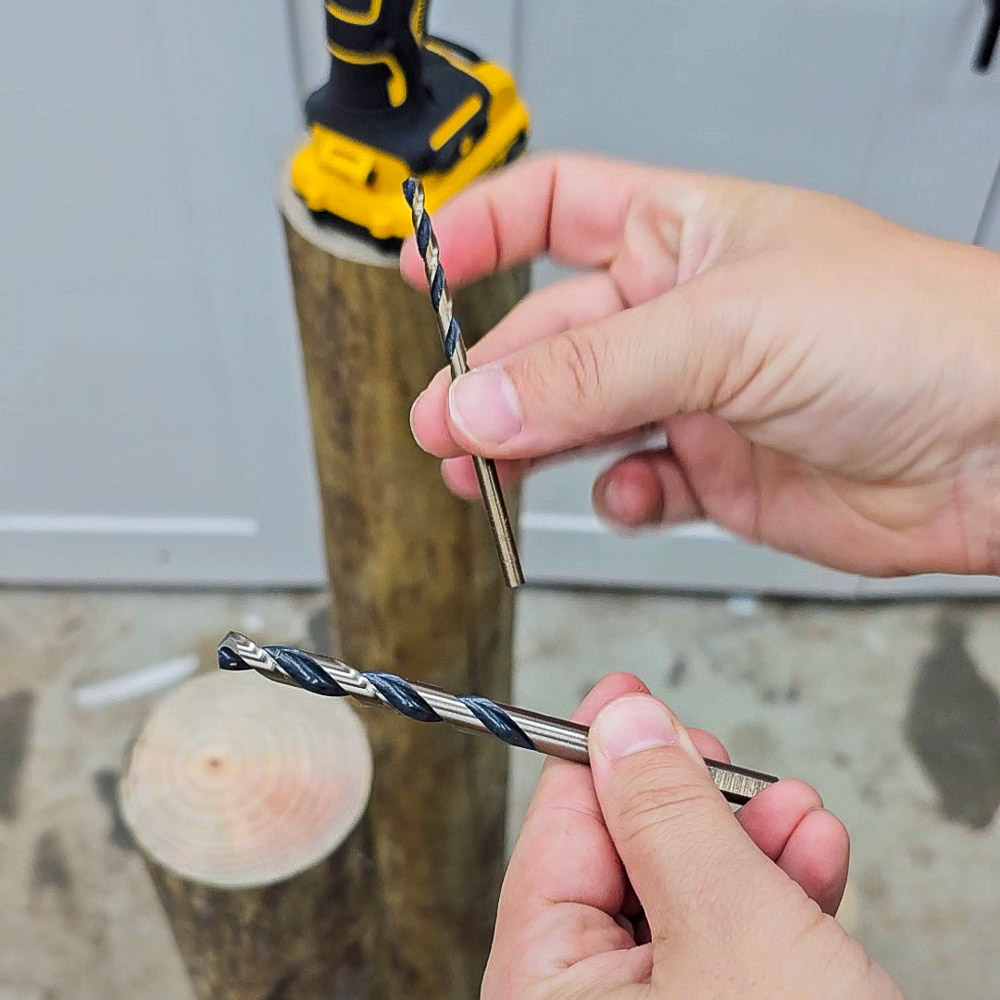
Pilot hole drill bit size: This just needs to be smaller than the larger bit by about half the size.
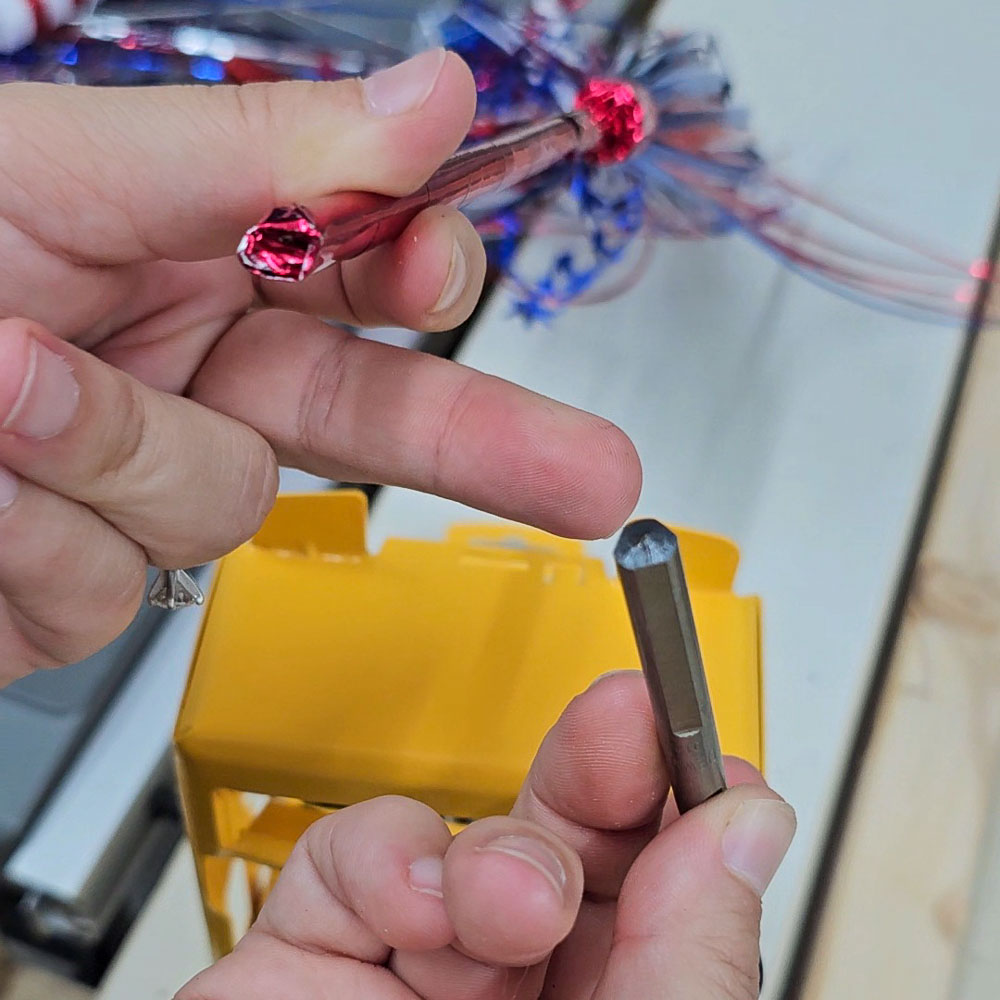
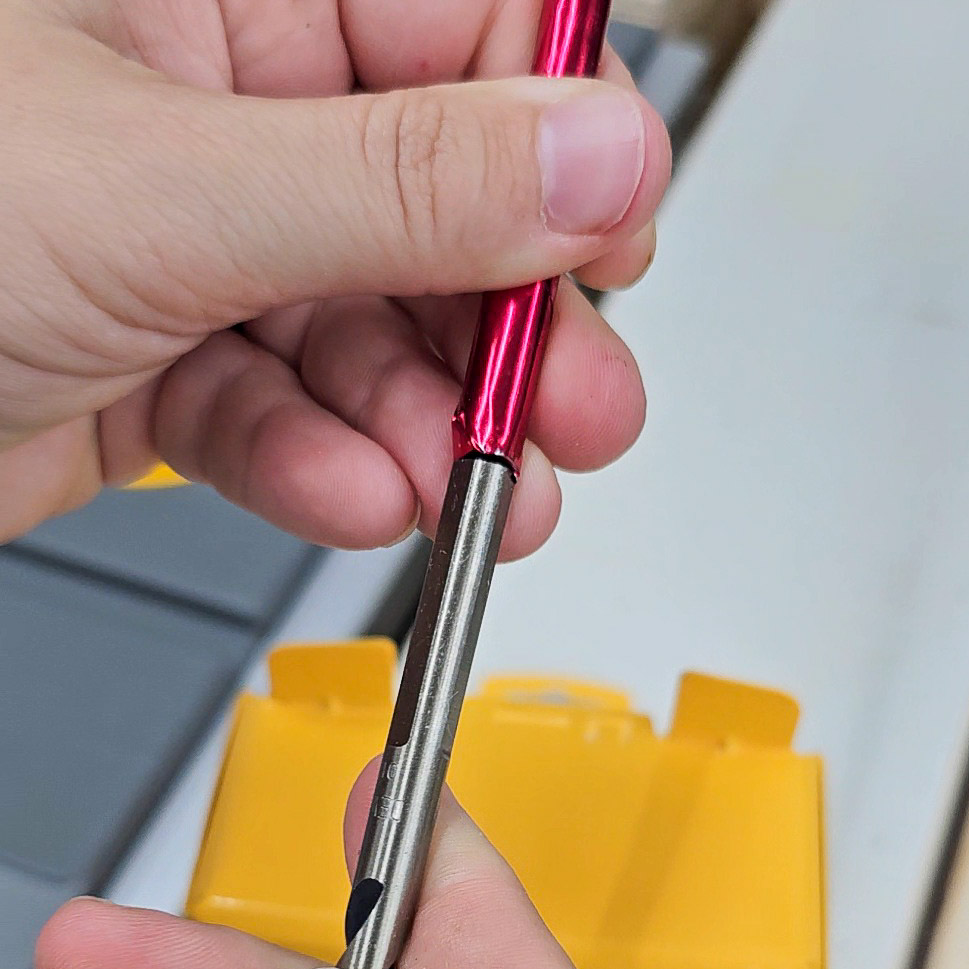
Stem drill bit size: This is an eyeballing process. Take the butt end of your stem and start matching it up to different drill bits. You’ll want to select a drill bit that’s slightly larger than the stem, so it’ll easily slide in.
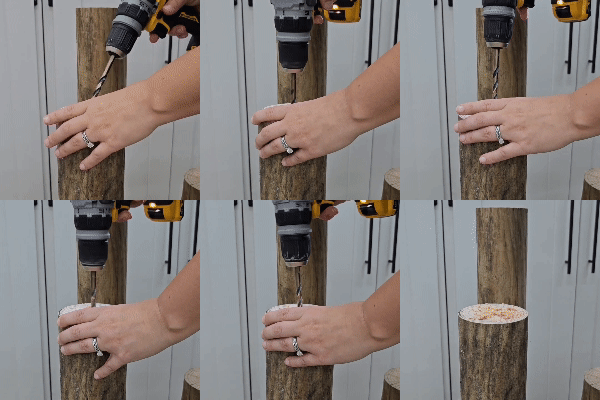
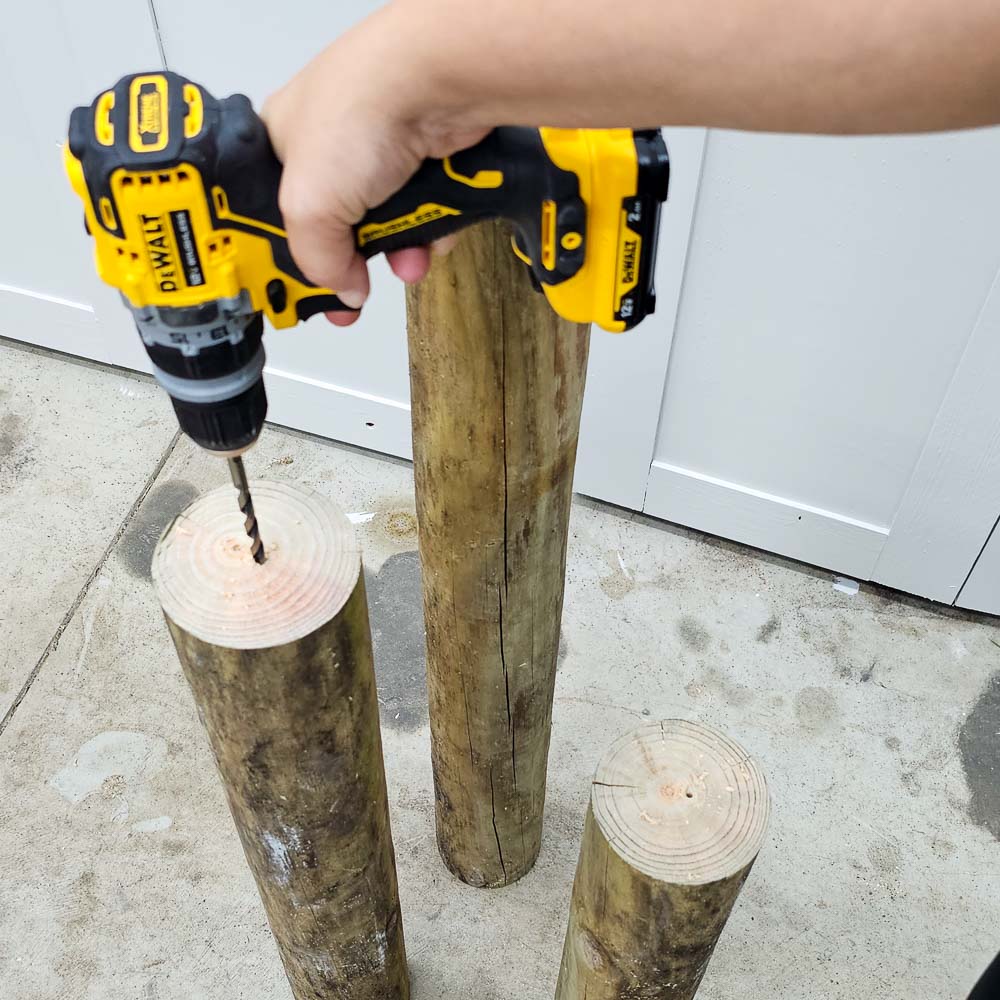
Next, drill a pilot hole using the smaller bit about 1″-2″ deep. Then using your larger bit, drill a hole in the same location as your pilot hole about 2″ deep.
Pro Tip:
When drilling deep holes, the drill and bit may get clogged down by wood chips in the hole which can cause your drill to jerk on you. Back your drill out a few times to clear wood debris and then drill deeper!
Step 3: Sand Things Smooth(ish)
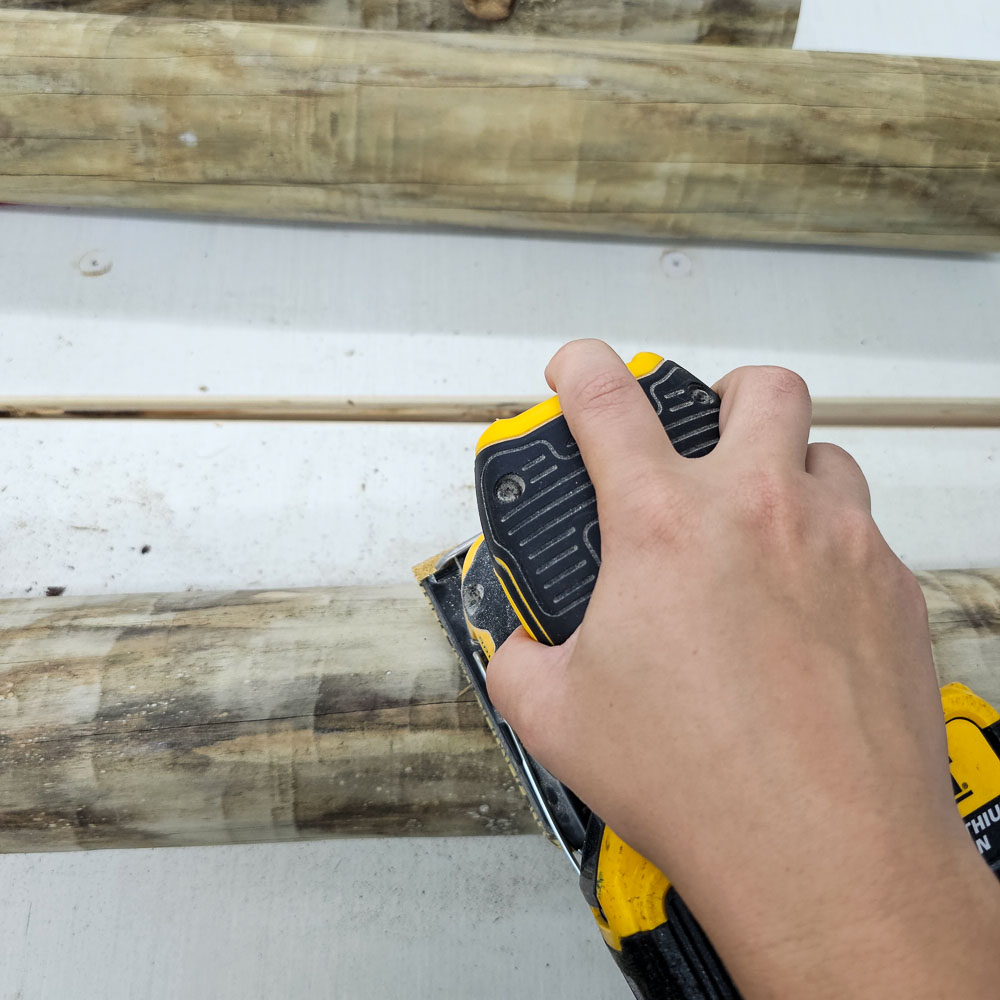
Smooth out any rough spots on the posts by giving them a good sanding. If you want to do this really fast, use 60 – 80 grit sandpaper to smooth out splinters and any bumpy areas first. Once that’s done, switch to the finer 120 grit sandpaper for a smooth finish. It’s not necessary to sand with a finer grit than 120!
(P.S. Wear a respirator! Sanding is no joke and can seriously harm your lungs. It’s not the sawdust you can visibly see that gets you either – it’s the tiny particles floating around the air.)
Step 4: paint
Now comes the fun part (unless you’re like me and hate painting….)! I opted for three different designs: a stars only design, a twisty and colorful stars and stripes design, and a more traditional stars and stripes design.
For the stripes:
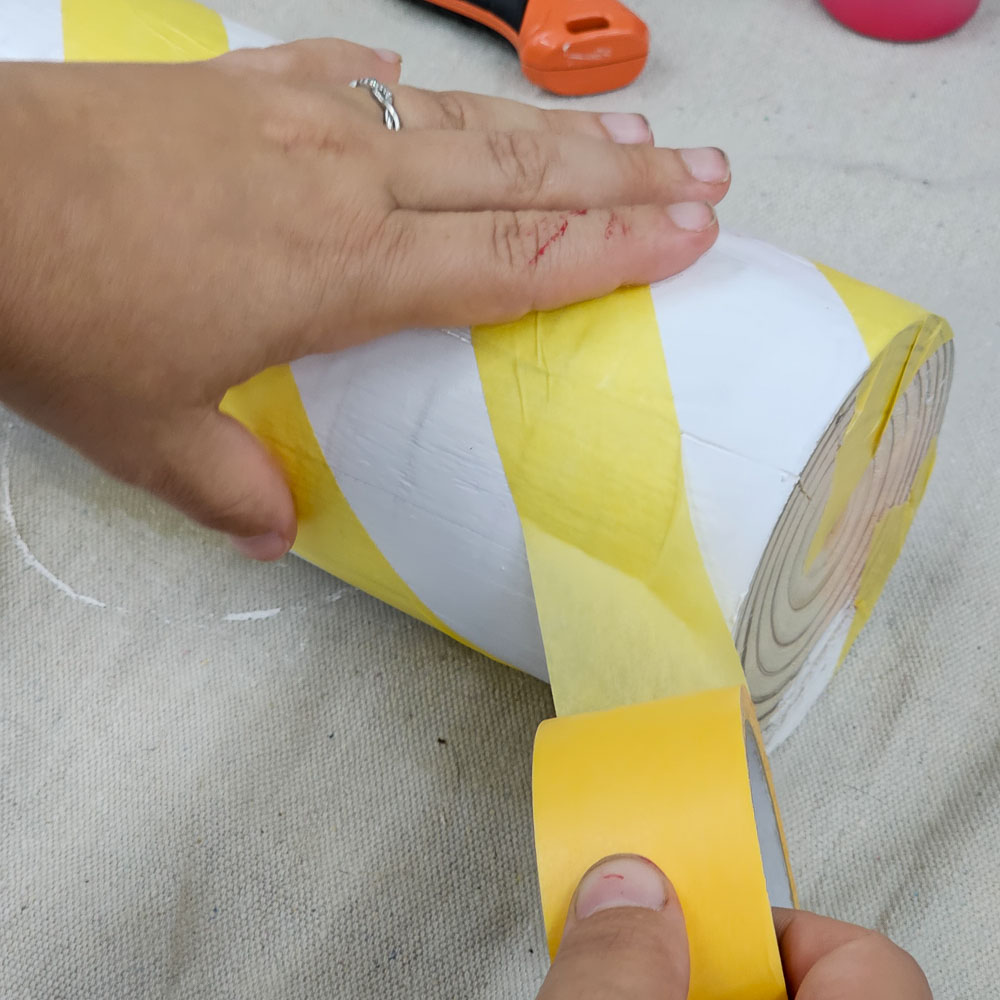
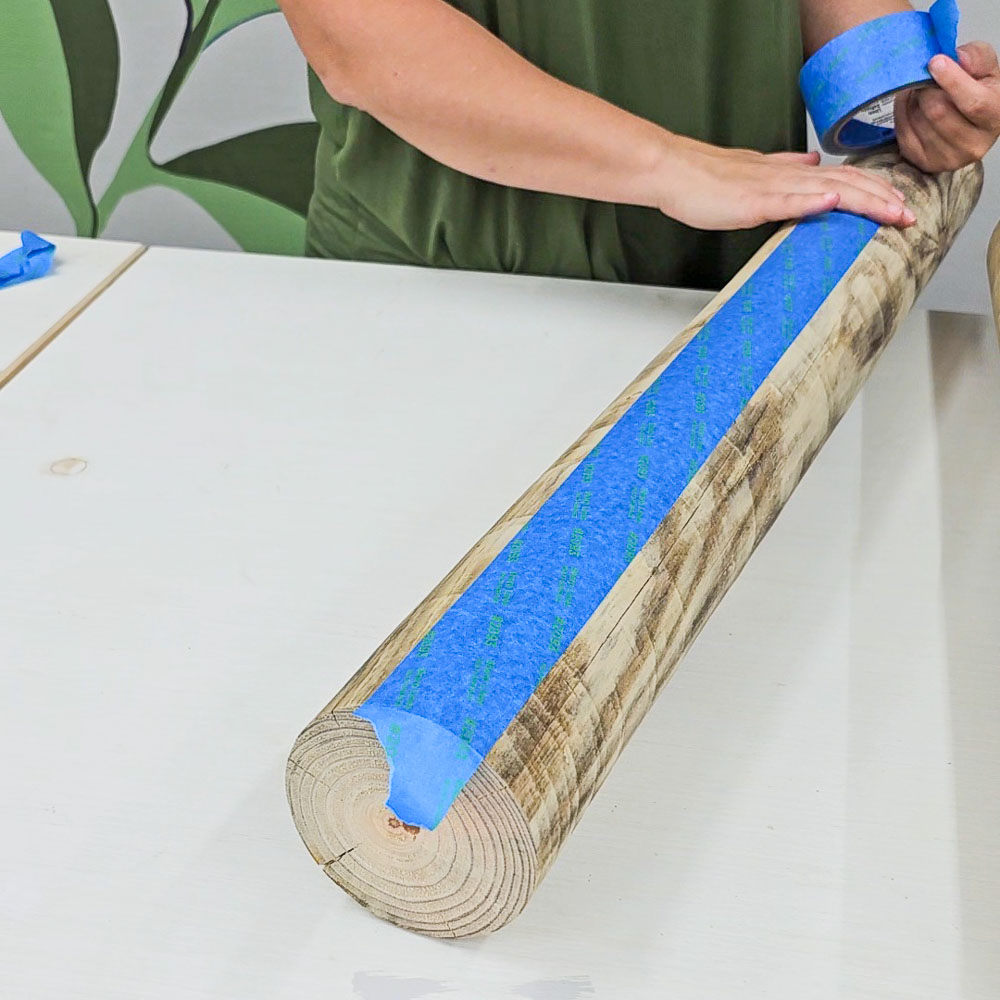
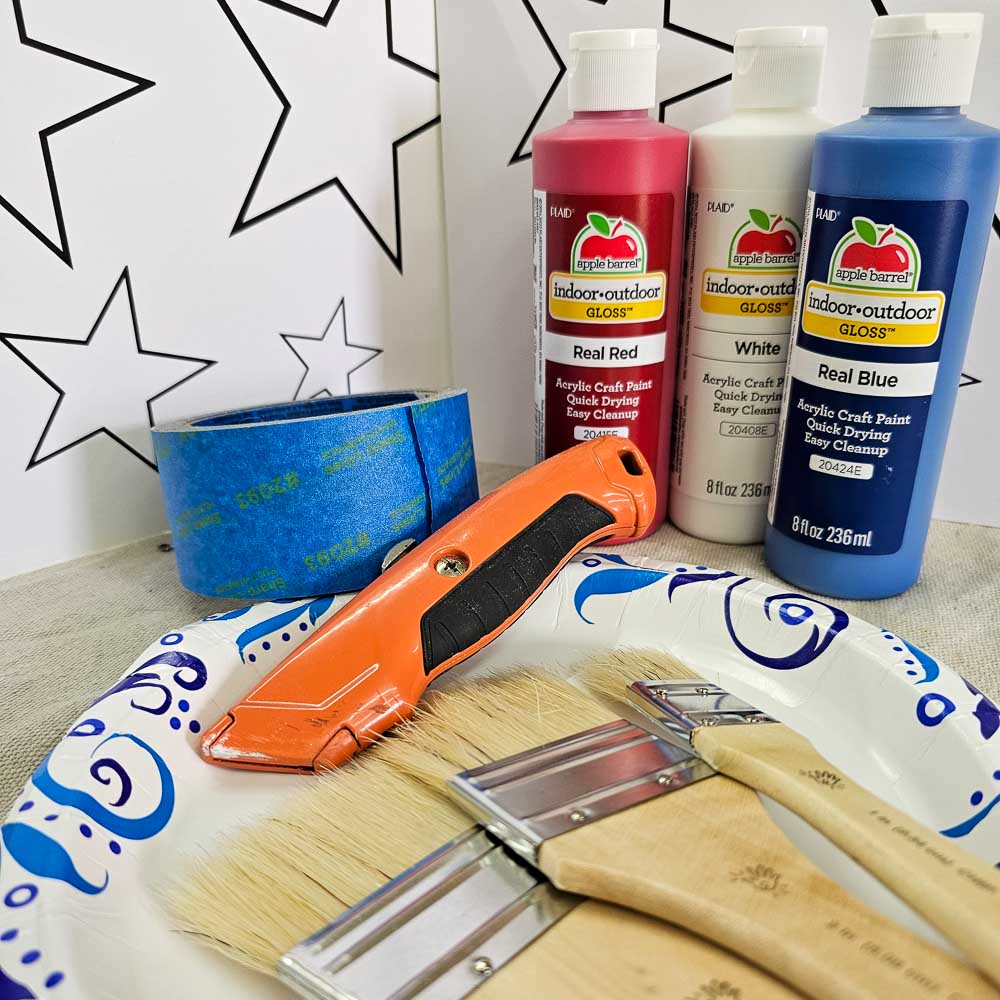
I used painter’s tape to help keep all my lines straight. Tip: If you want crisp and clean lines: paint the adjacent color along the tape edges first, let it dry, and then paint the desired color on top. Pull the tape off and this will give you a much crisper line.
For the stars:
- You can hand paint these.
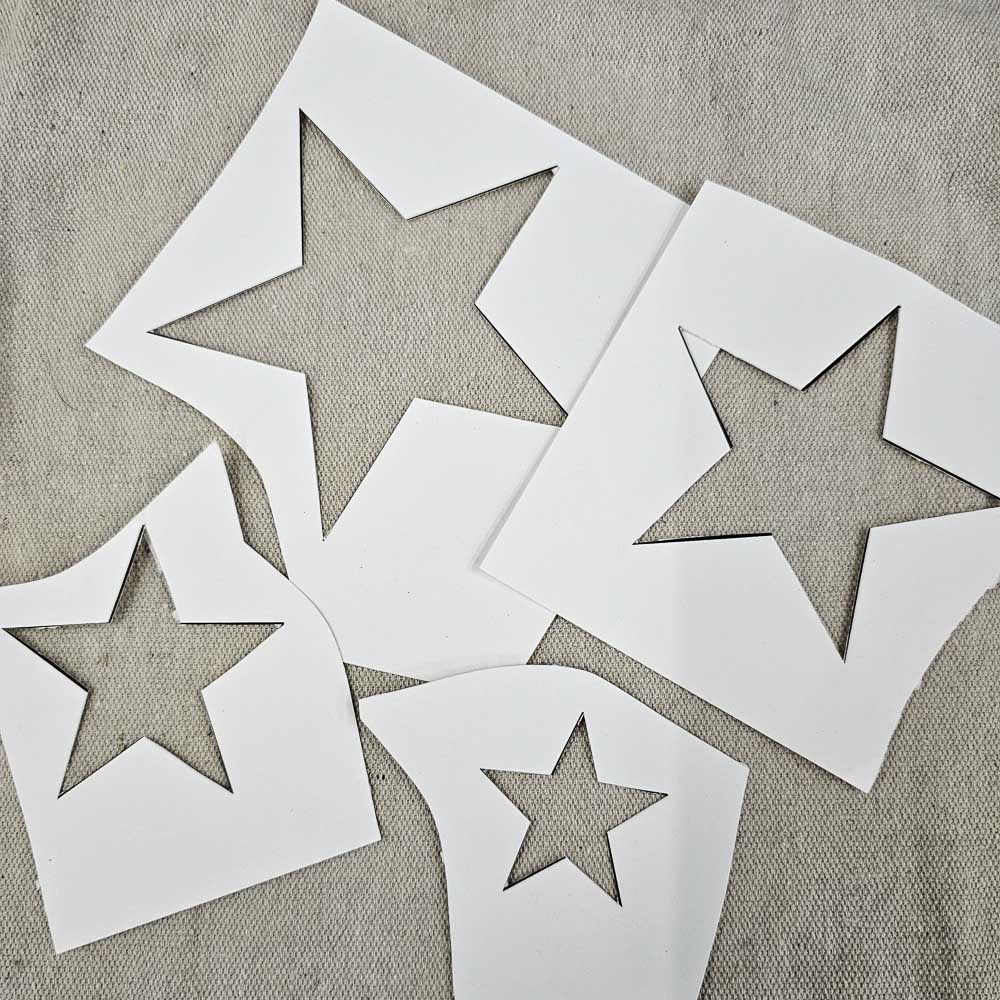
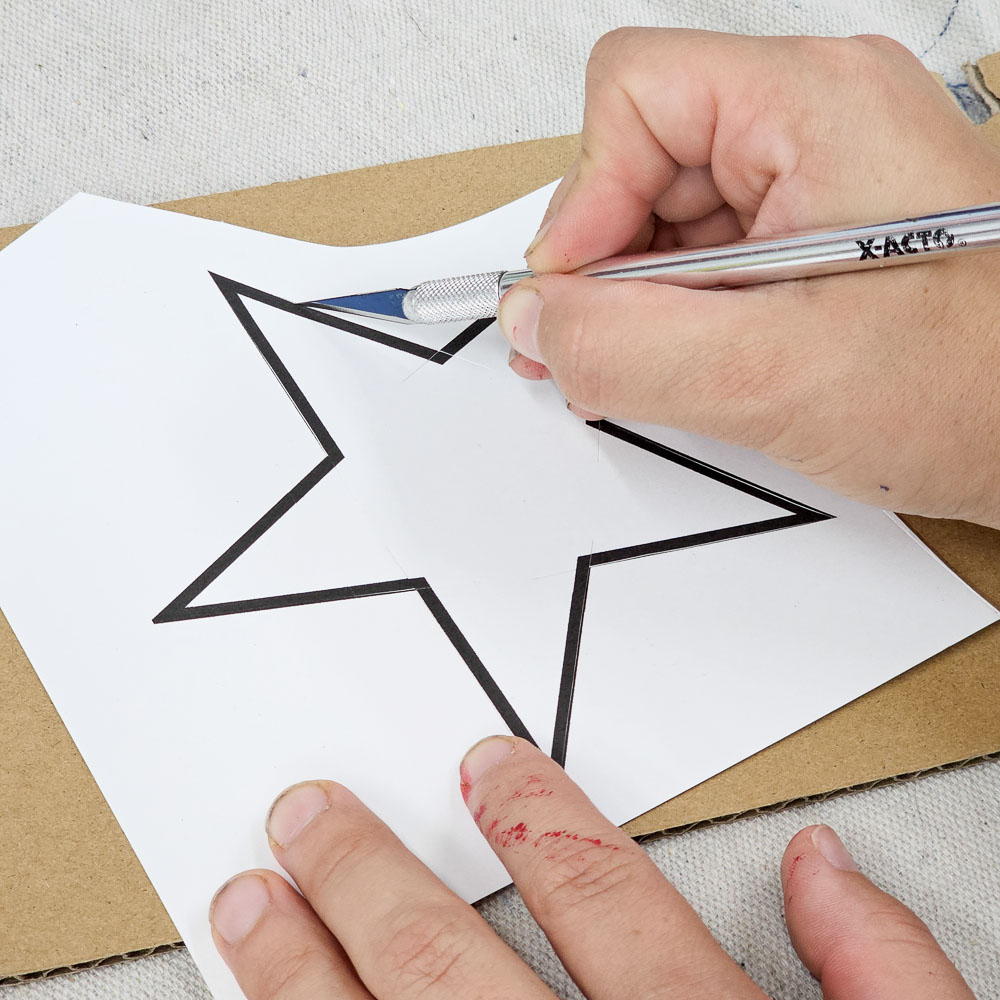
- Use a stencil: you can print out star shapes in various sizes to use as a stencil template for painting. Just don’t use cardstock – regular floppy paper will be best to get snug around a rounded post. I ended up tracing an outline and hand painting the colored stars because the cardstock I used was so stiff.
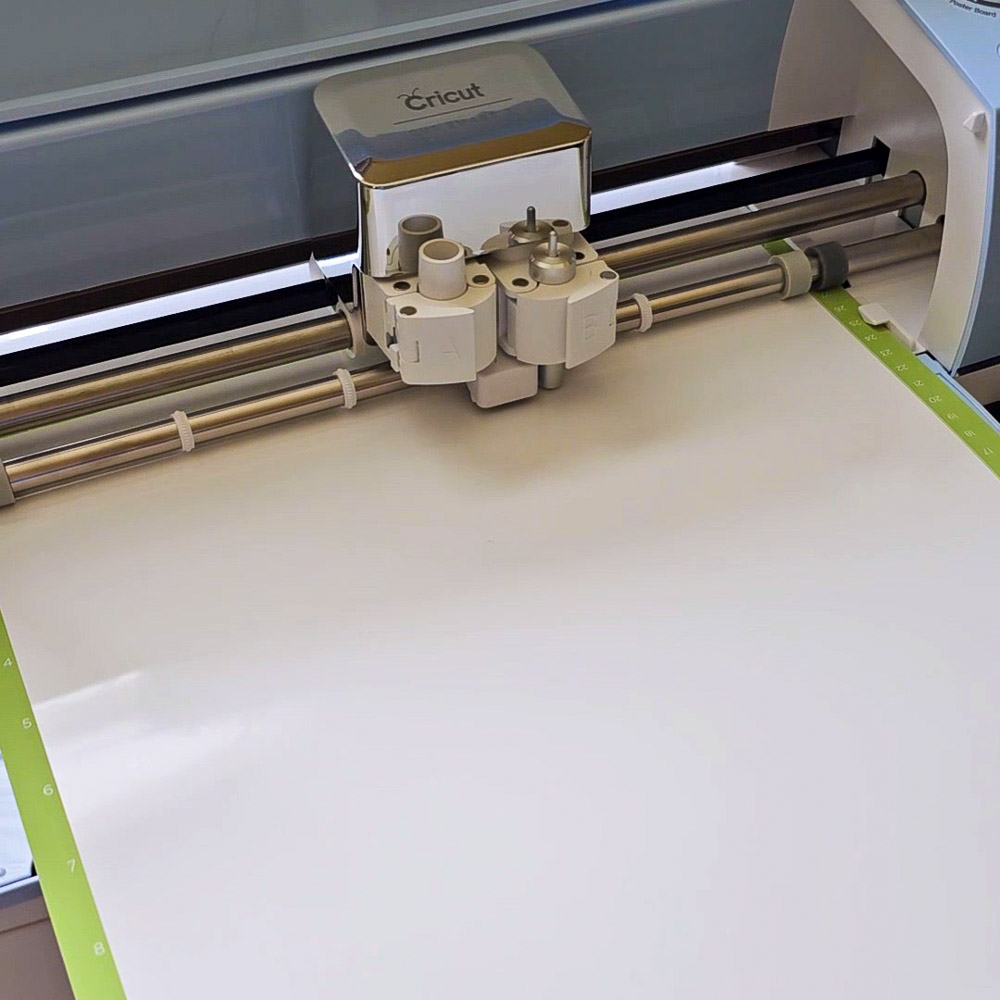
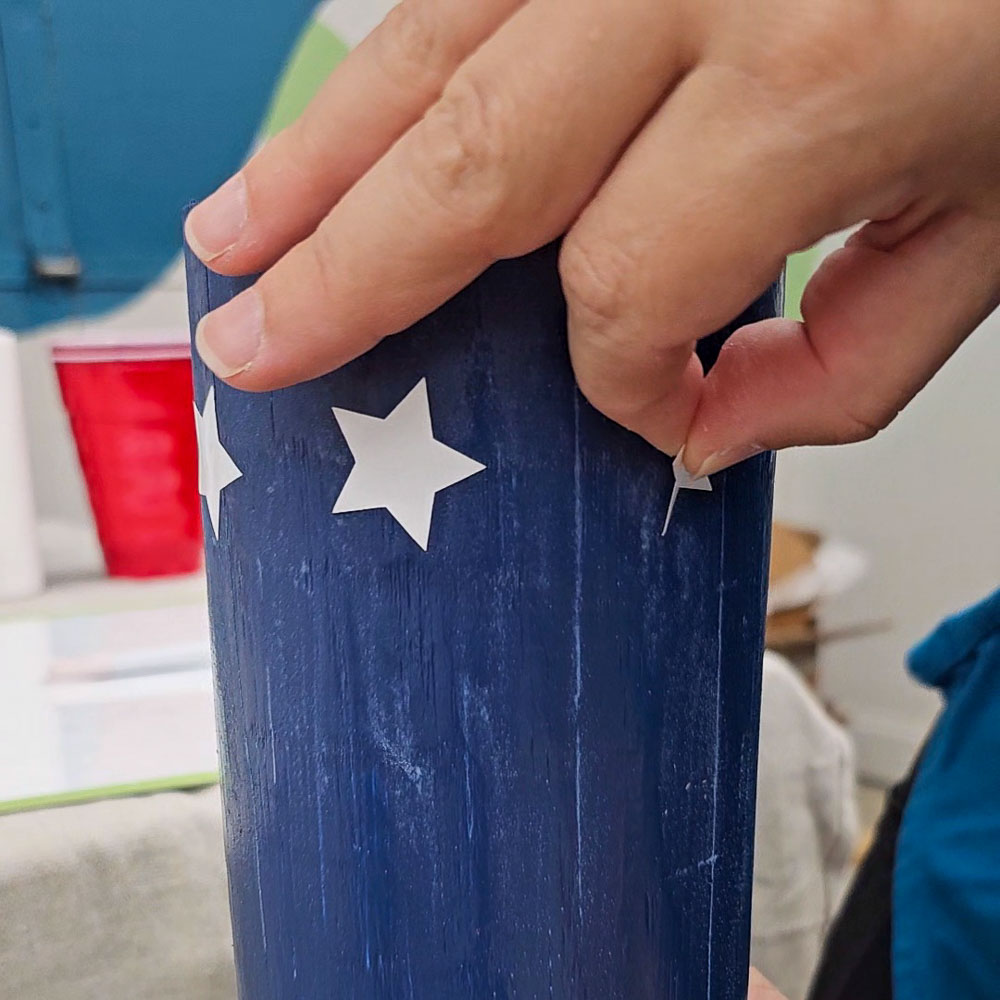
- Use permanent vinyl stickers: I ended up getting tired of painting stars… who could’ve guessed? So, for the white stars, I opted to test out my Cricut for the first time to make stars from permanent vinyl. This worked fabulously.
I ended up doing a combination of stenciling, hand painting, and Cricut stickers. If I had colored vinyl I would have used my Cricut for all of the stars because it’s sooooo much faster (alas, I was too lazy to go to the store and didn’t want to try and match colored paint to colored vinyl since I already painted the colored stripes so I just hand painted).
Choosing the right paint:
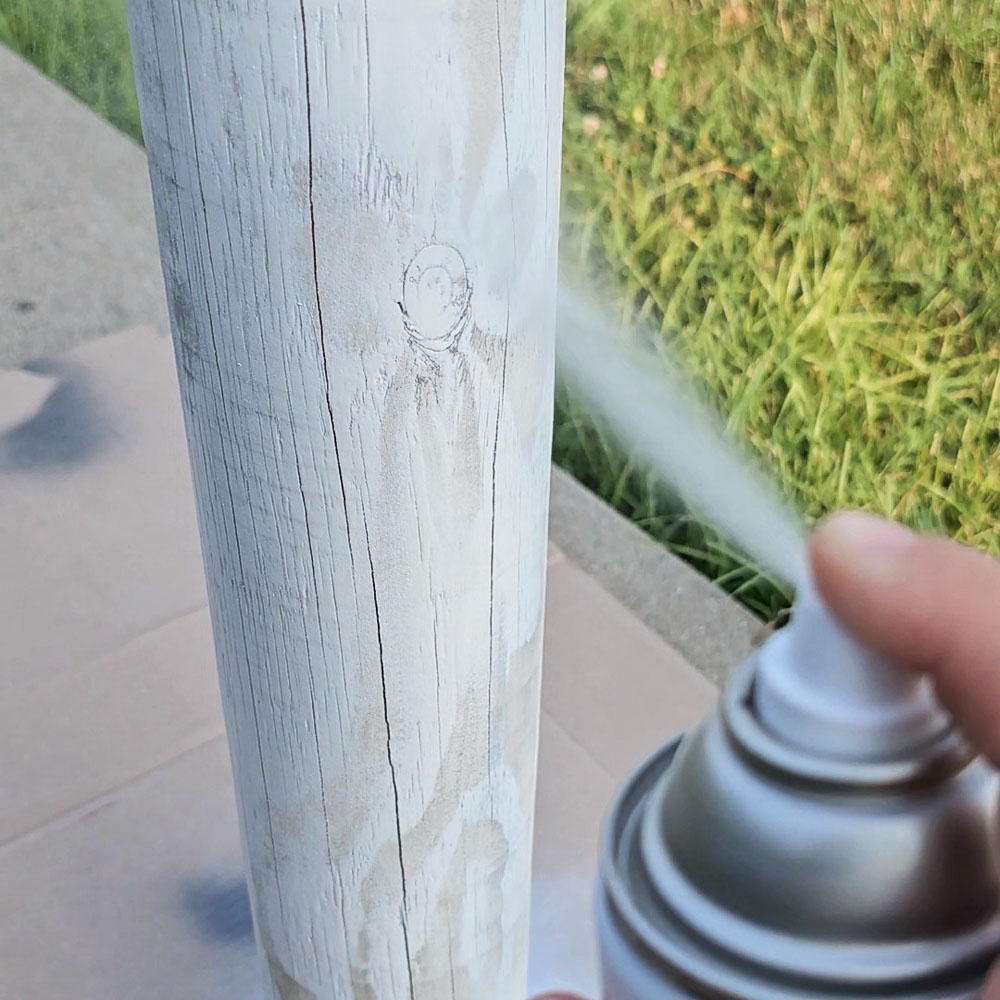
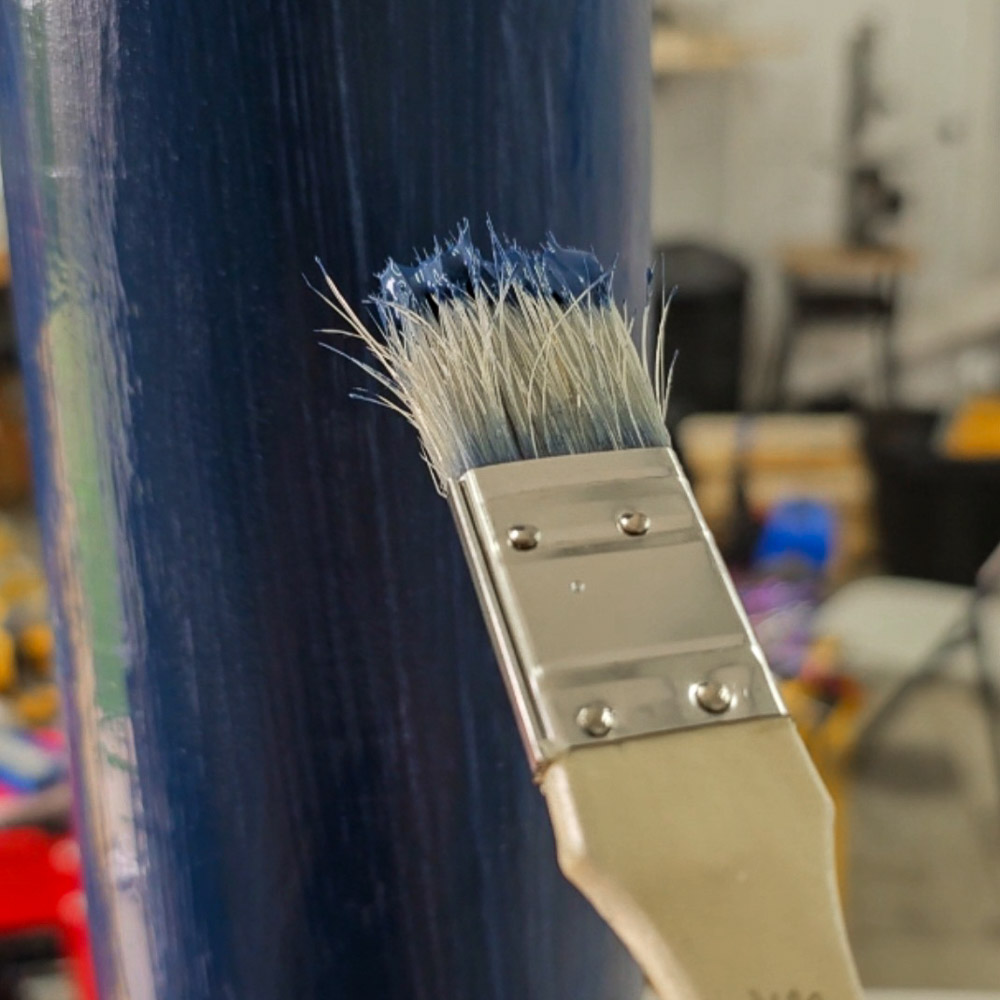
I started out using spray paint – spoiler alert: it did not work. It not only took forever to spray on, but the coverage was awful (this may or may not be due to my horrible spray-painting skills; the world will never know). So, I ended up painting each post with a paintbrush and indoor/outdoor craft paint instead. This was much easier, faster, and the coverage was significantly better.
Afterwards, you can seal these with outdoor polyacrylic if you want. I didn’t since I used outdoor paint – but if you want to, you can use the spray polycrylic for this since it’s already been painted; it will adhere just fine.
Step 5: hot glue Stems
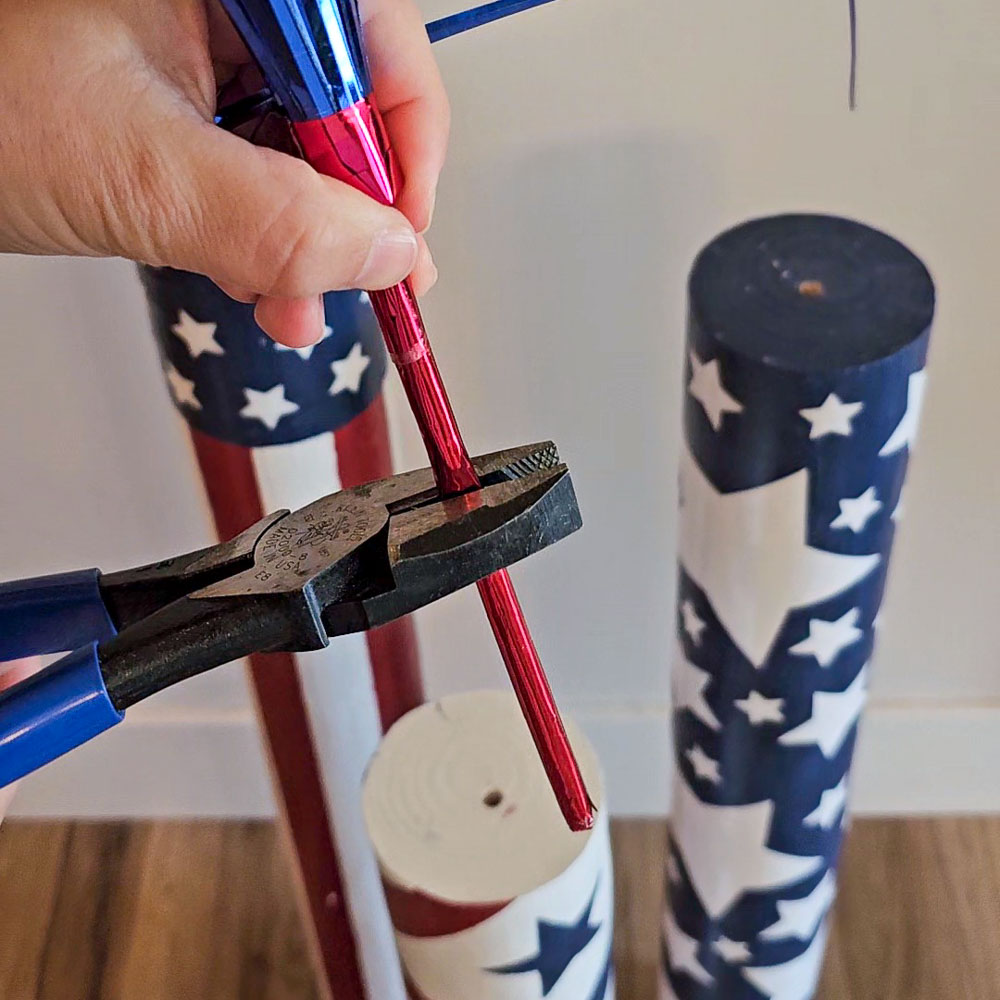
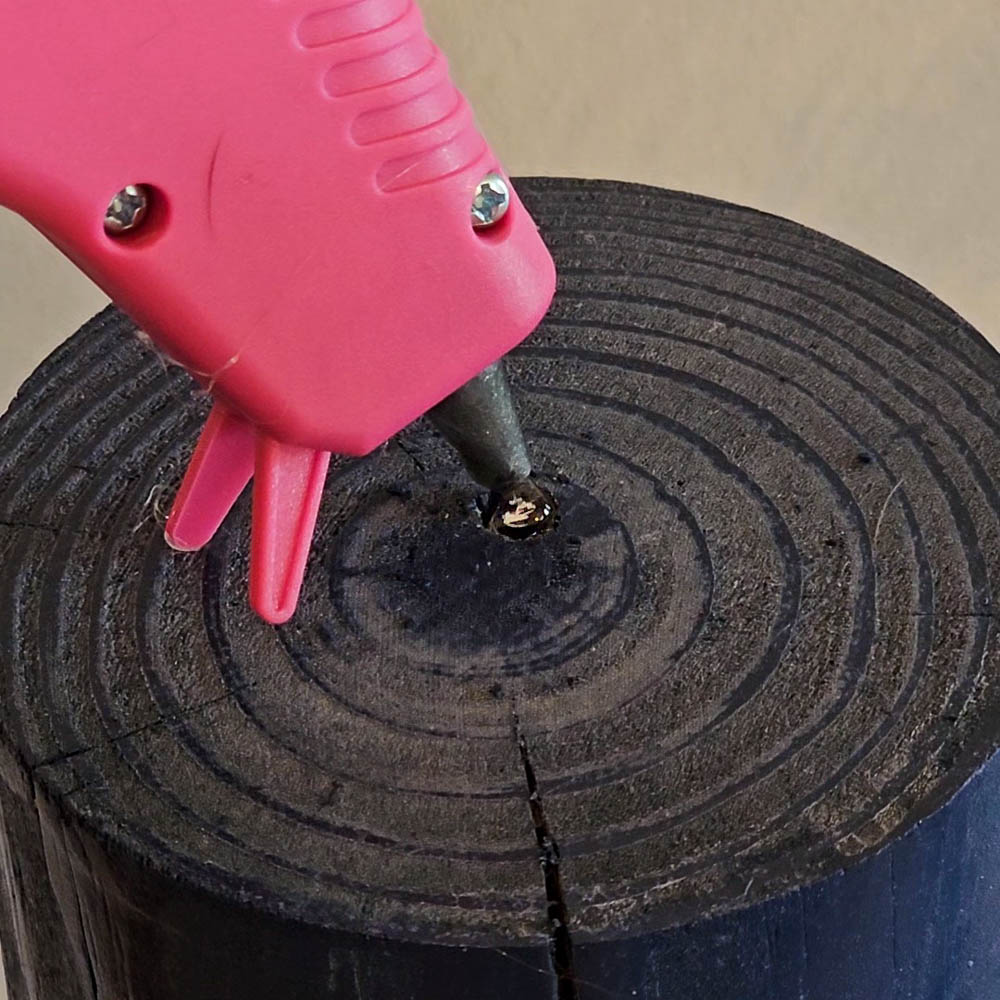
Trim the firecracker stems to match the depth of your holes you drilled in step 2. Break out the hot glue gun and get sticking! Dab a good amount of glue into the hole at the top of each post and quickly pop in the firecracker stem. Hold it steady for a bit while the glue sets so the stems stay straight.
Step 6: Show ‘Em Off!
Snap, crackle, boom! Give yourself a high-five because you’ve just whipped up some awesome patriotic porch decor. Find a cozy spot on your porch to display these bad boys because these wooden patriotic fireworks are going to be a hit.
filed under: 4th of July, crafts, DIY projects, one-day projects, patriotic, seasonal
SHARE THIS STORY:

Make sure to Subscribe to our newsletter &
follow our progress on Instagram!

